Event CRM - Managing Contacts (for Organizers)
The run.events Event CRM – Contacts module system provides a comprehensive and unified tool for contact, customer and partner relationship management across events, enabling you to:
- Monitor customer attendance history and engagement
- Engage customers through personalized communication, attendance tracking, and behavioural insights
- Align sales, marketing, and support teams around a shared view of every stakeholder involved in your event
Key Capabilities
The Contacts CRM Allows you to:
- Customer History - View attendance patterns across multiple events to track engagement.
- Relationship Management - Monitor customer activity and build long-term loyalty.
- Customer Insights - Understand preferences, behaviour, and decision-making.
- Attendance Tracking - See how many people from each company attended your events and spot trends.
- Corporate Accounts - Manage enterprise clients, track team attendance, and find growth opportunities.
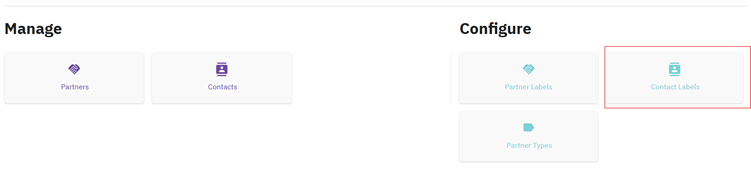
Go to: Organizer Dashboard → CRM → Contacts
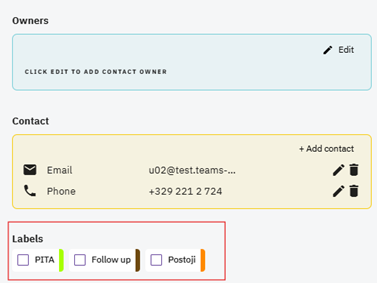
Configuring Contact Labels
Contact Labels are internal tags used to segment and organize contacts. You can assign it to any of your contact records in your CRM.
They help with:
- Filtering contact lists
- Targeted communication
- Reporting and segmentation
- Internal categorization
These labels can be used to help you organize your contacts by different segments, such as customer type, events they are interested in, and more.
Go to: Organizer Dashboard →CRM→ Contact Labels
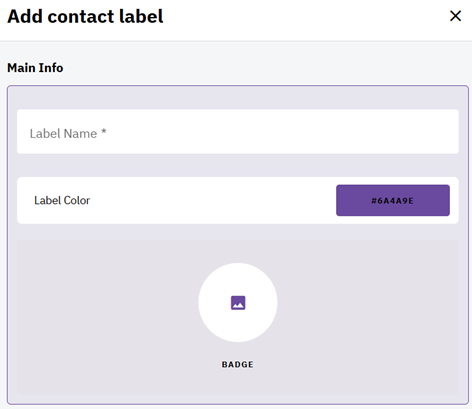
Click on +Add new
![]()
Configure:
- Name - Assign a clear and descriptive label name (e.g., Speaker, VIP Guest, Team Lead).
- Color - Choose a color to visually distinguish the label across contact lists.
- Badge - Select a badge icon or style to enhance visibility and make the label instantly recognizable.
Once created, labels can be assigned directly within contact profiles.
Managing Contacts
Go to: Organizer dashboard → CRM → Contacts
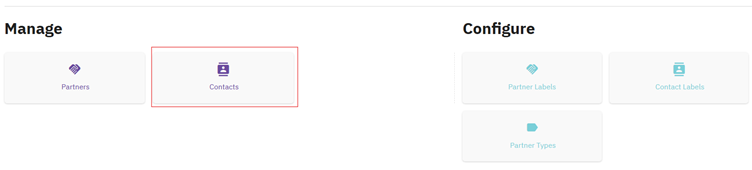
Click on +Add new to manually create a contact. Contacts can also be automatically imported trough event participation.
![]()
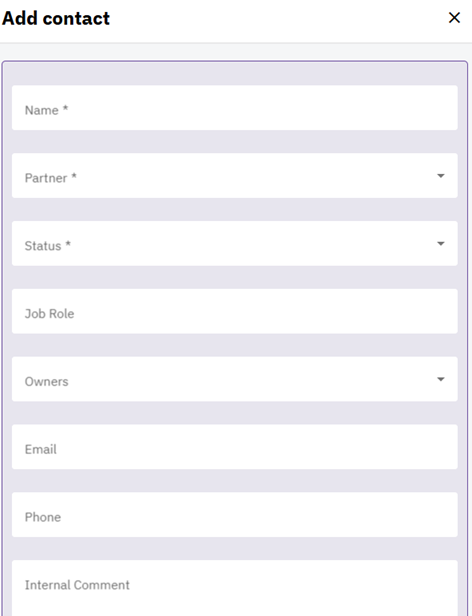
Creating or Editing a Contact
Complete the following fields:
- Name
- Partner (if associated with a company)
- Status
- Job Roles
- Owners (internal team members responsible)
- Phone Number
- Internal Comments
All contacts—whether imported from events or added manually—are displayed in the contact list. Use the Search function to locate and segment contacts efficiently.
Contact Personal Information
Clicking on any individual contact in a list, opens a detailed profile view. You can review and edit all personal information for the selected contact directly from this view:
- Name
- Partner
- Status
- Job Roles
- Owners
- Phone Number
- Internal Comments
- Labels
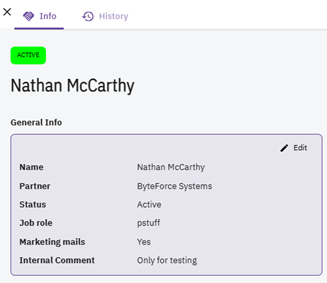
All changes made in this view are saved centrally and reflected across CRM modules.
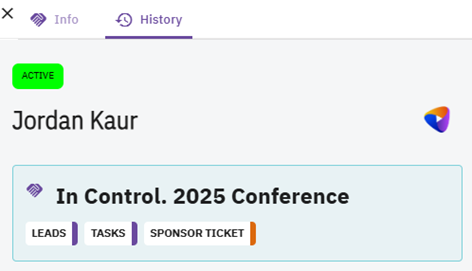
Contact History
The History tab displays all past events the contact has attended, including the roles they held at each event. This provides a longitudinal view of the contact’s involvement across your event portfolio.
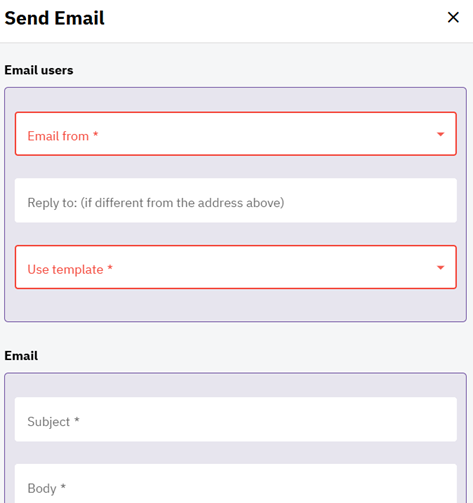
Sending Email Communication
You can send targeted communication directly from the CRM.
Firs, select the contacts you want to include in your email communication. Emails can be sent to:
- Individual contacts
- Filtered segments
- Label-based groups

Follow these steps to prepare and send an email:
- Enter Sender Information - Provide the required email user details.
- Select an Email Template - Choose from templates associated with your existing events.
- Define the Subject and Body - Add the email subject line and message content.
- Send the Email - Click Send to deliver the communication to all selected contacts.
Best Practices:
- Use labels consistently for segmentation
- Assign internal owners for accountability
- Maintain updated contact details
- Review attendance history before outreach
- Use history insights to personalize communication