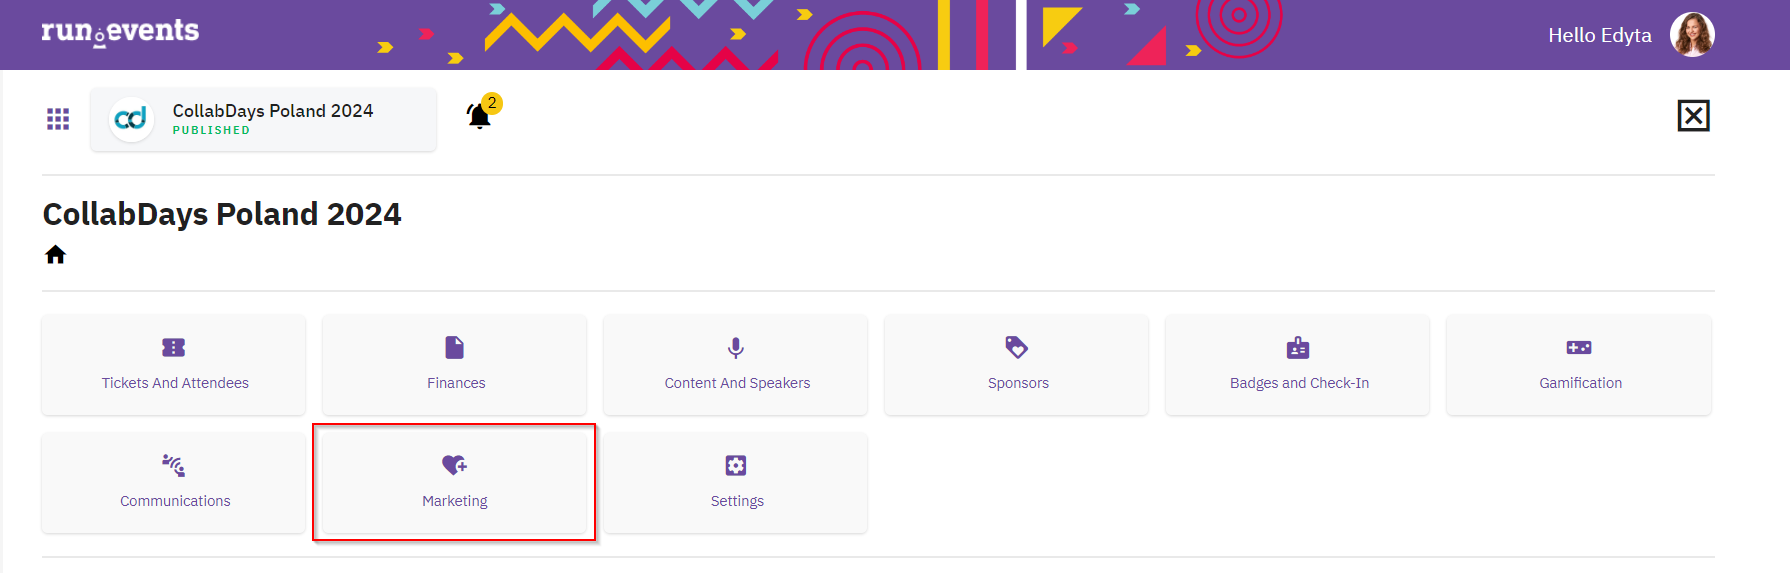
To create your “Influencer Campaign” in run.events you should use “Marketing” feature. If it is grayed out you must first integrate your e-mail providers with run.events. To do it please follow the instructions here.
Select “Marketing” on the main run.events dashboard:
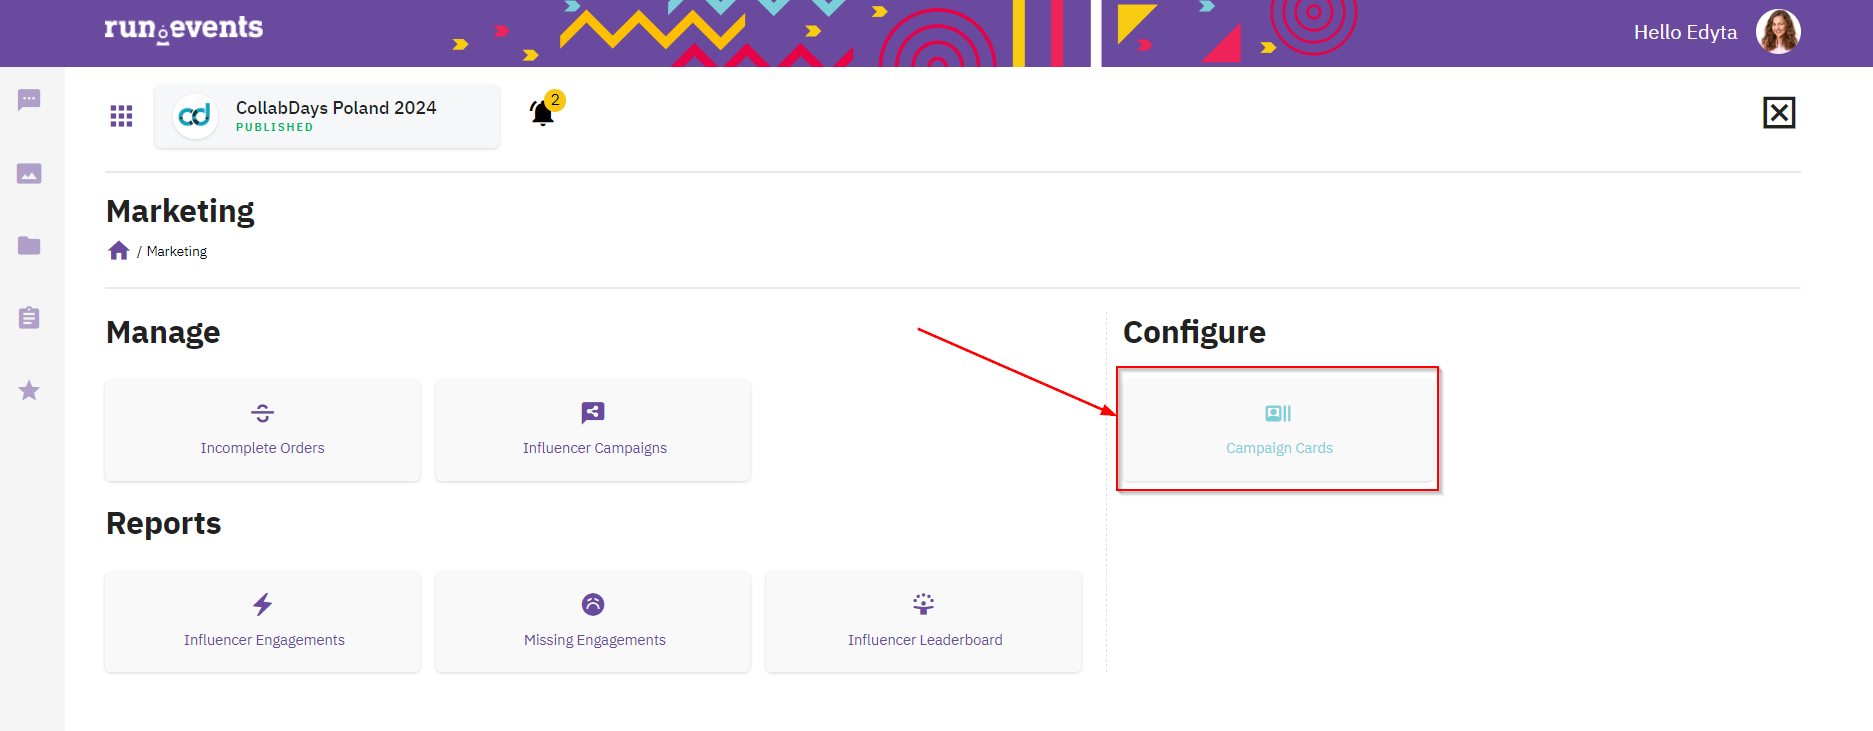
Start with building your “Campaign Cards”.
You can start from template if you already have any or start from scratch while selecting “Start from Blank”:
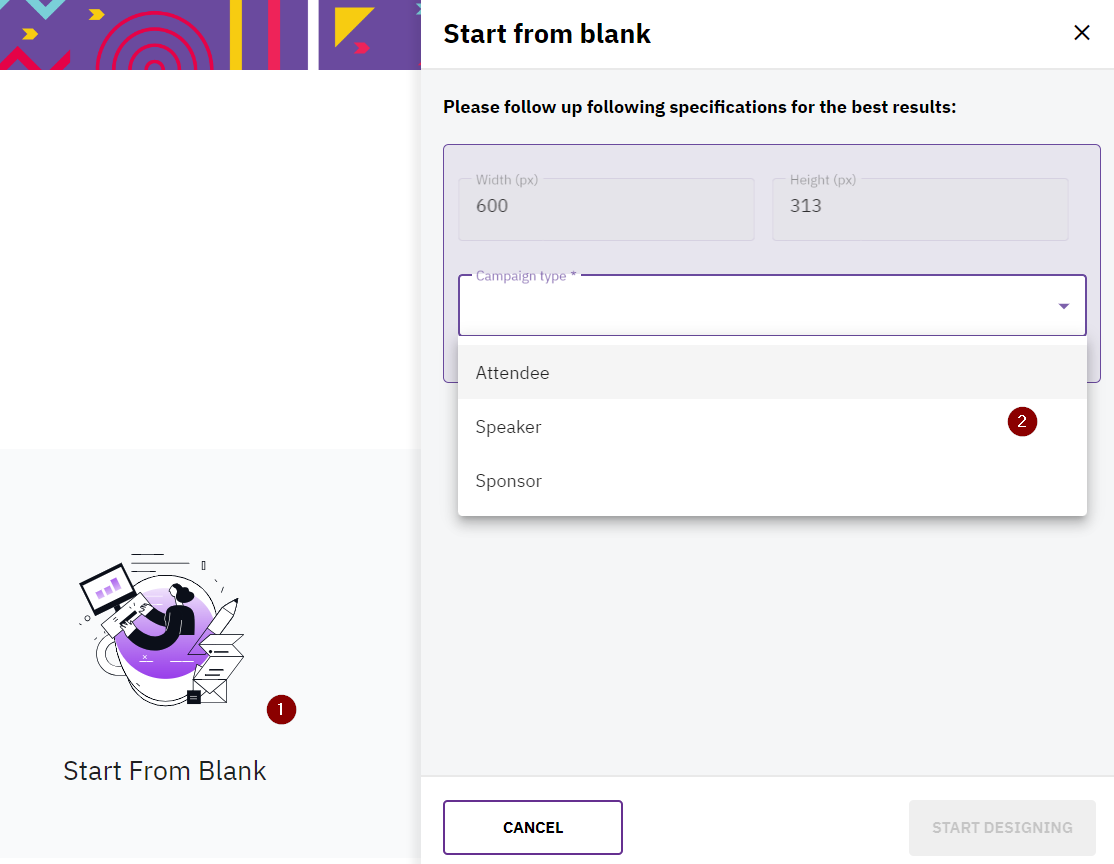
“Start from Blank” since you may use “Influencer Campaign” for the very first time.
Please remember that for now campaign is created for LinkedIn posts only, therefore the specifications are made to match the dimensions of the LinkedIn post (600 x 313).
Select for which audience type you are going to create your campaign. You may select: “Attendee”, “Speaker” or “Sponsor”. In the following example we’ll be using “Attendee”.
When campaign type is selected you can “Start Designing”:
In the run.events designer you can create your “Social Card Design”. As first name your “Social Card” to know later which card should be used to create your “Influencer Campaign”.
Later “Upload Image” as a background picture for your social card. The picture must be aligned with LinkedIn post dimensions (600 x 313) and be in SVG file format.
When SVG image is uploaded you can start designing your social card. You may add “Standard Fields” or “Custom Fields” to your design by dragging and dropping selected fields:
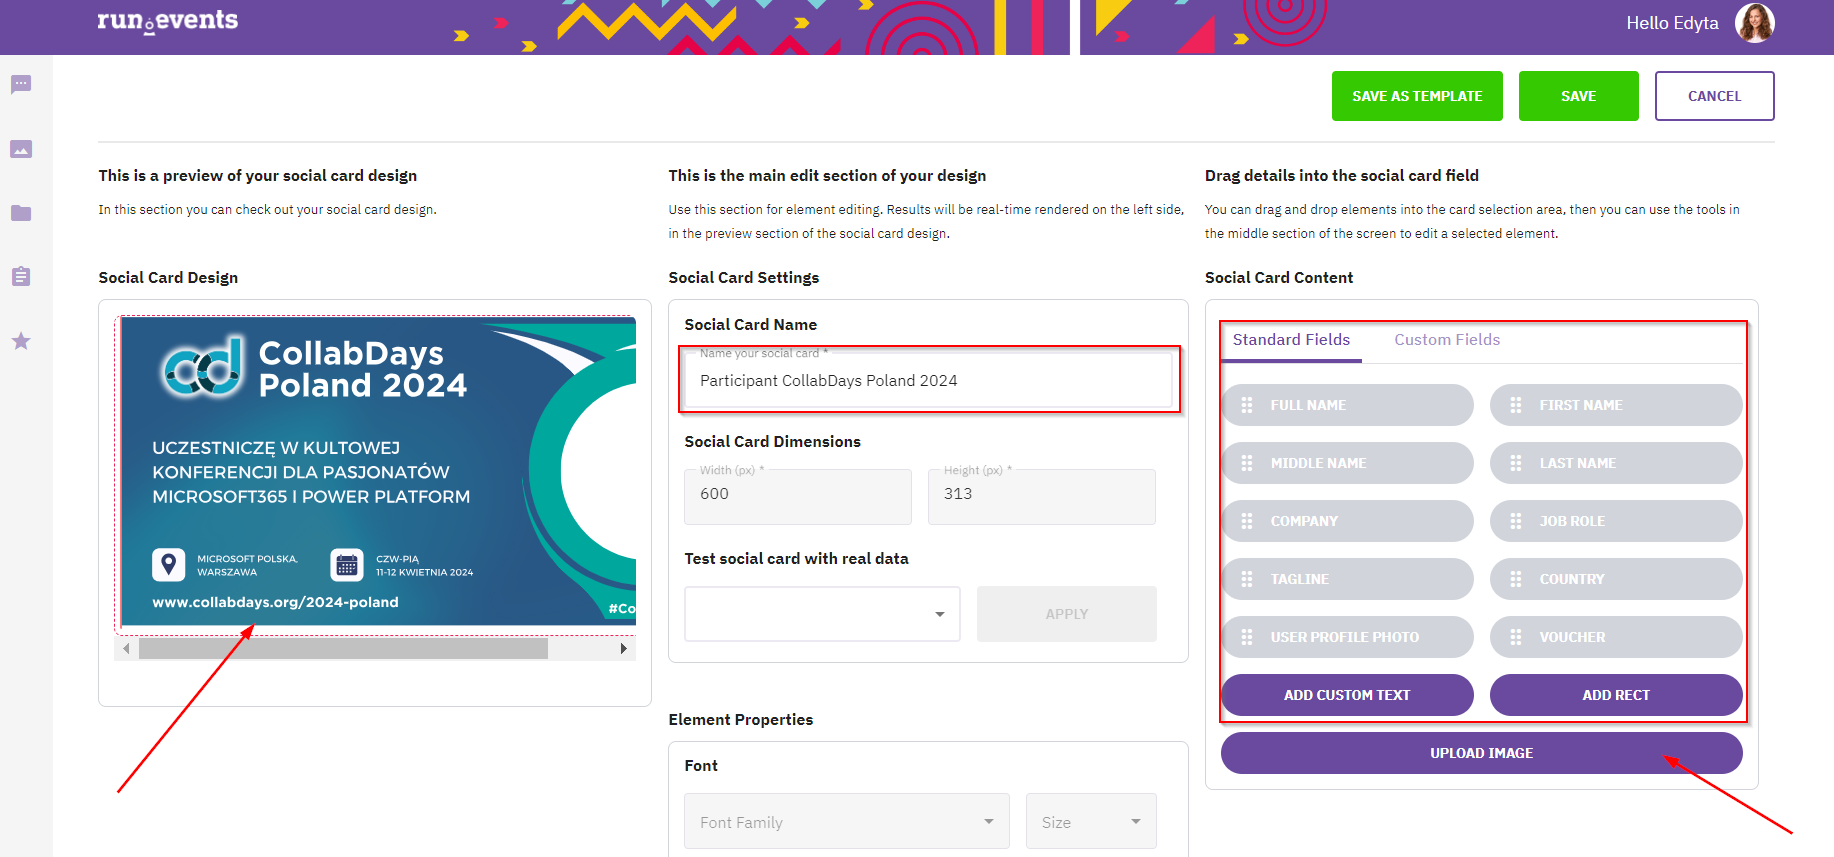
For instance you can add “User Profile Photo” which will be changed depending on who will be publishing his or her “Social Card” on LinkedIn. You can test its looks while using “Test social card with real data” while selecting any attendee and “Apply”.
The picture is taken from run.events or from LinkedIn profile.
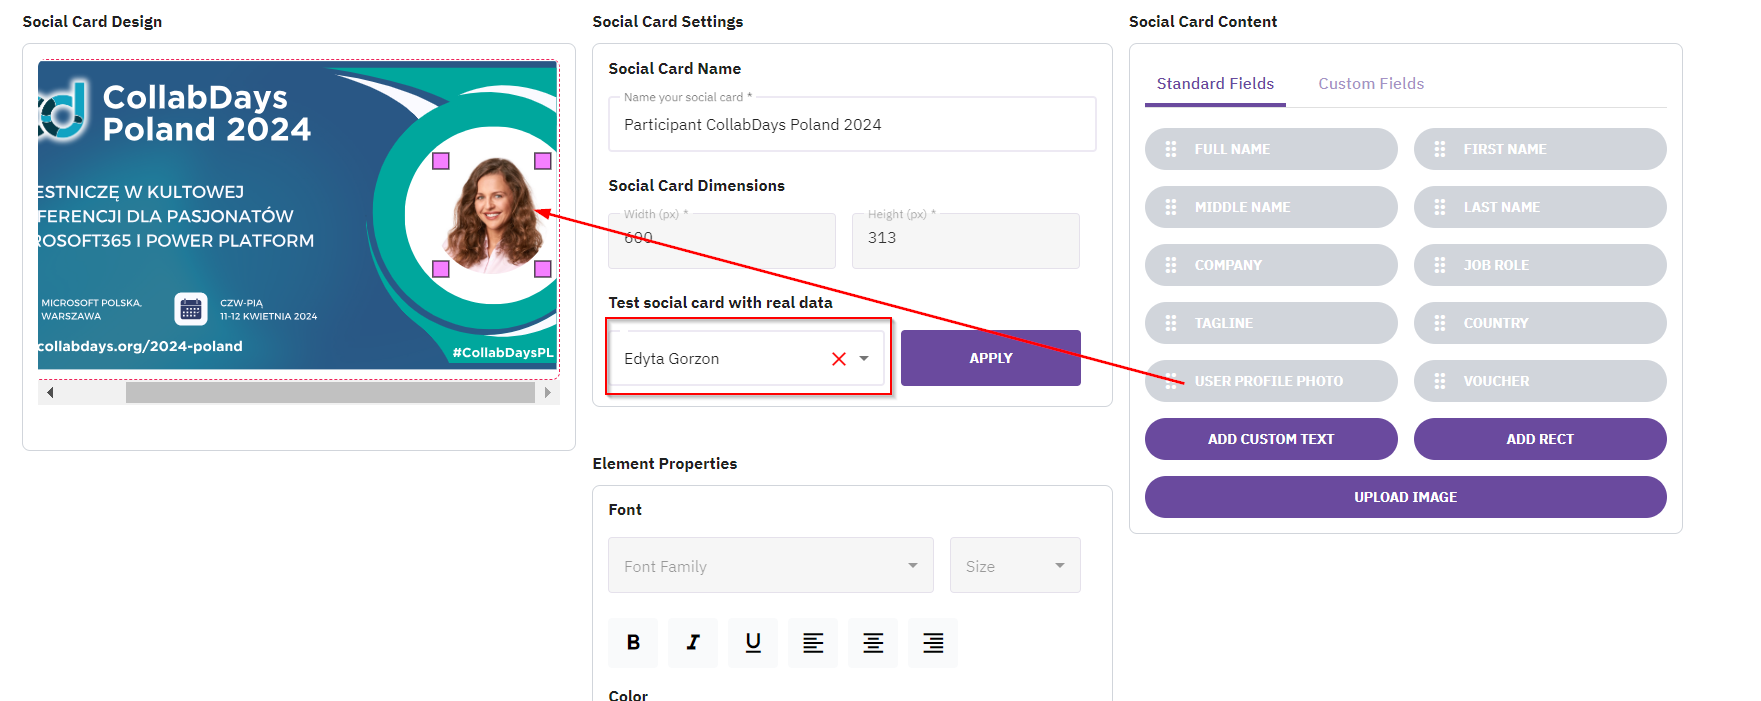
If you wish to have your picture rounded, please use “Rounded Image shape” in the toolbox below.

When your design is ready, you can save your “Social Card Design” as a template. If you save this social card as an organizer level template, all events organized by you will be able to use it and create social card on this template.
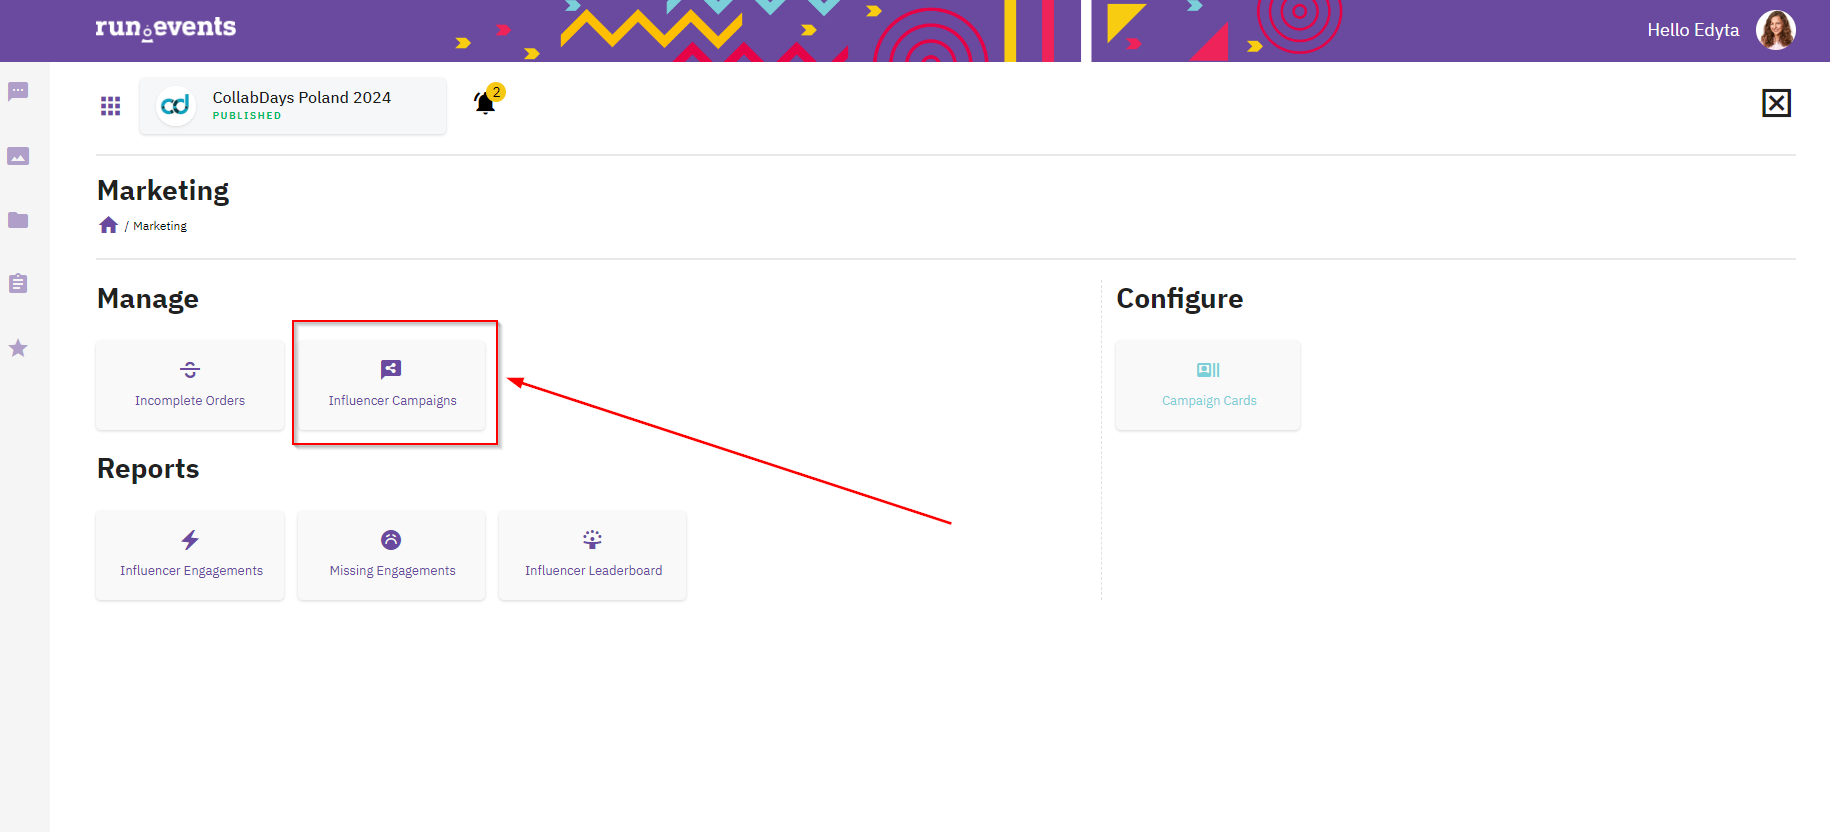
Creating a Campaign
Now, let’s get back to “Marketing” dashboard and choose “Influencer Campaign” button to configure your campaign details:
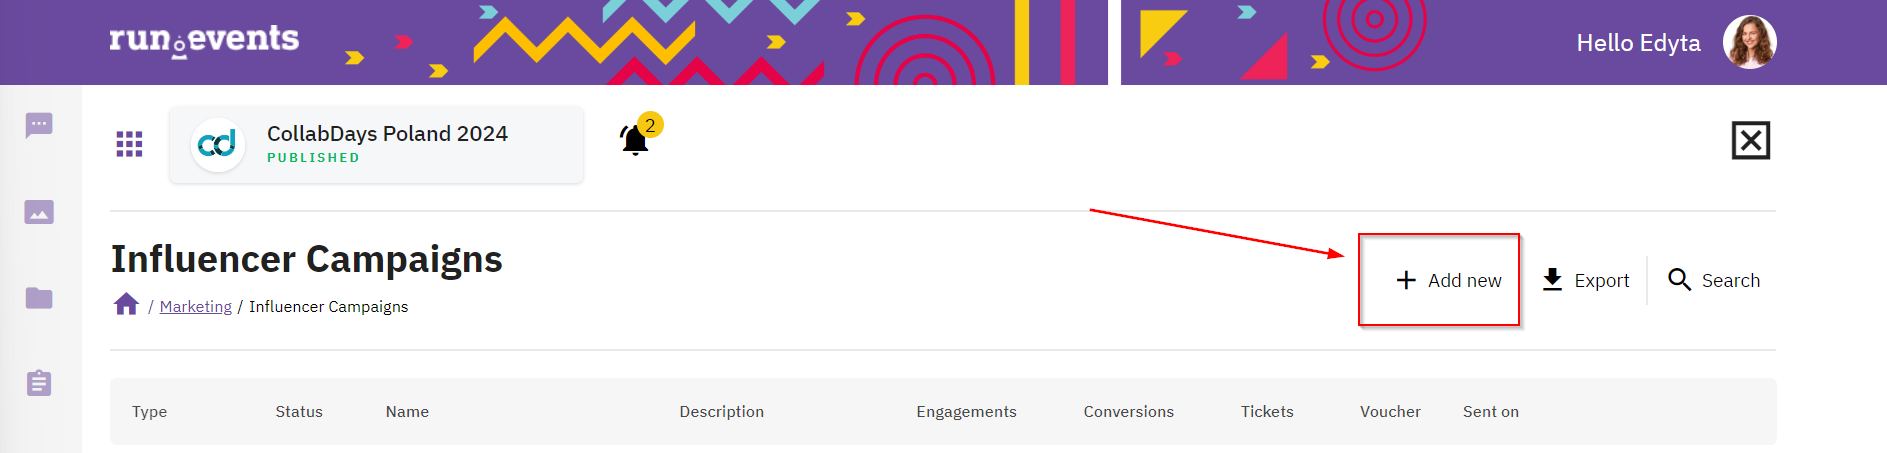
In the next step you must select “Add new” to start detailing your campaign:
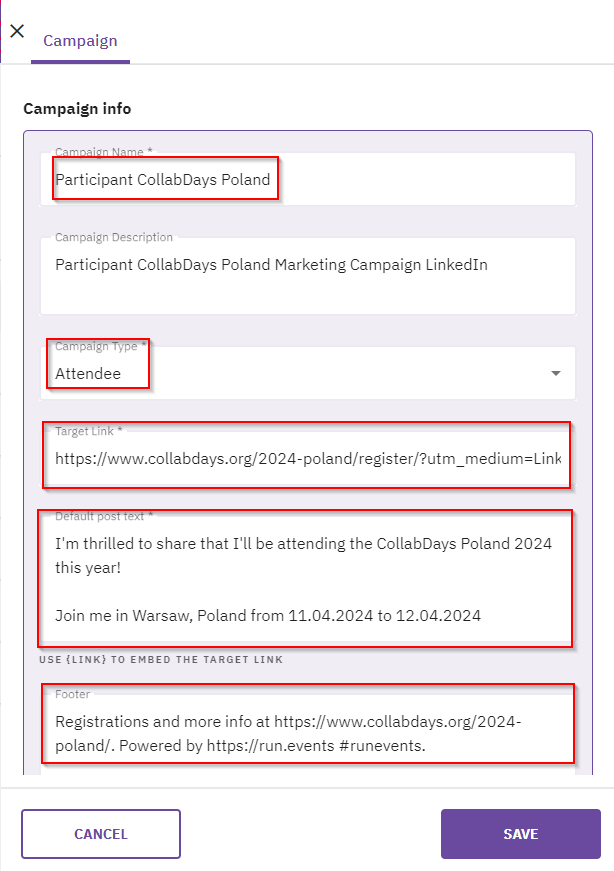
While creating “Influencer Campaign” you must provide necessary information such as:
- “Campaign name” (this is for your information later)
- “Campaign description” (this is for your information later)
- “Campaign type” to whom it will be sent: Attendee, Speaker, Sponsor
Target link to which website the social media link leads to. We encourage you to use utm custom links to track your campaign results better.
Post text. The run.events suggests you an example text, however you can use yours to make your communication more suitable for your event. Additionally, every attendee who decides use run.events “Social Card” on LinkedIn can modify this text before publishing it.
Footer. The text can be modified by you, however the attendee who decides use “Social Card” on LinkedIn cannot modify it. That part if fixed for them.
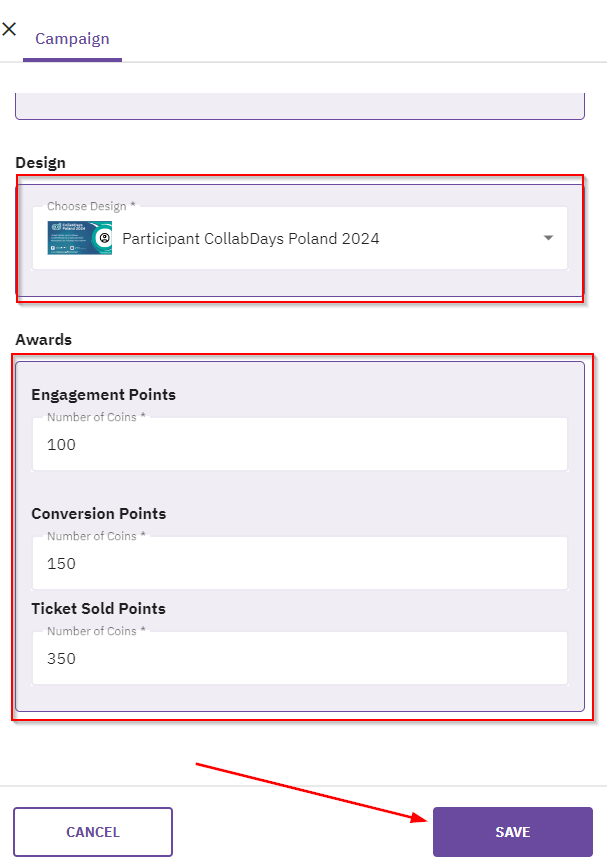
Design. Here you must select a “Social Card Design” previously created.
Awards. A bit of our famous Gamification if it is used by you. Decide how many coins you are rewarding attendees who take part actively in the “Influencer Campaign”. “Ticket Sold Points” should have the largest number of coins to be gotten.
Campaign targeting
Save your „Campaign” and select a new tab called “Attendees”. In “Attendees” tab you decide to whom you are targeting your campaign.
You create various scenarios, for instance you can send a campaign only to attendees who have a specific ticket type or come from any selected country, etc. This is your decision how you decide to whom your are going to target your “campaign”:
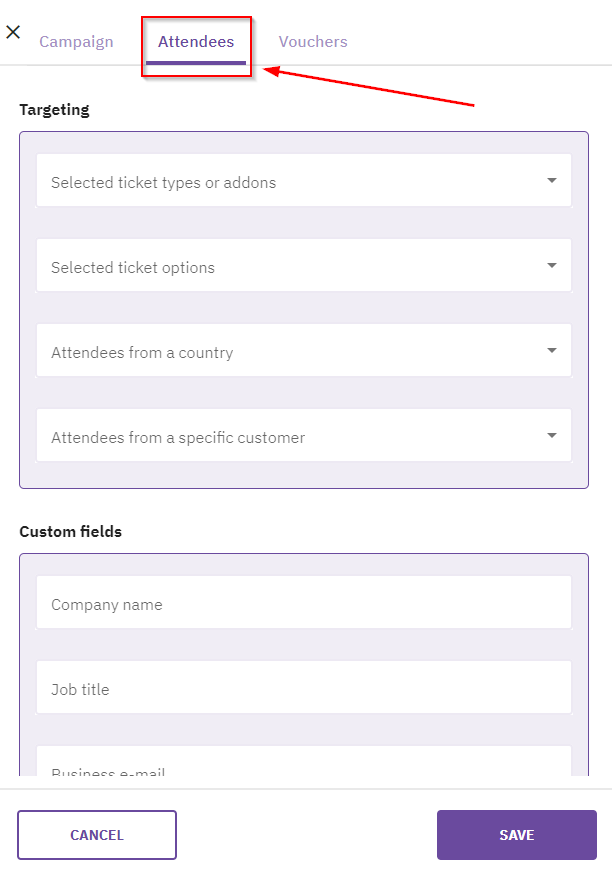
When „Targeting” is done click “Save”.
Next step: Configuring Influencer campaign Vouchers | Marketing | run.events