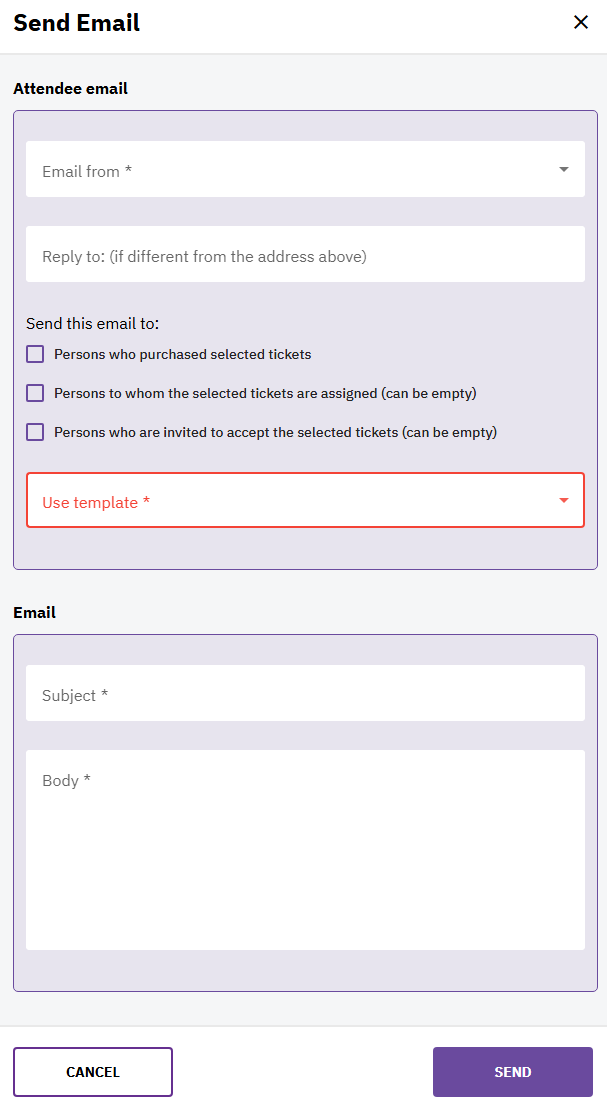
This guide outlines the steps necessary to send emails to attendees directly from the ticket screen in your event management platform.
1. Initial Setup
Before you can send emails, you need to configure a few settings in your organizer dashboard.
Access Email Settings:
- Navigate to your Organizer Dashboard.
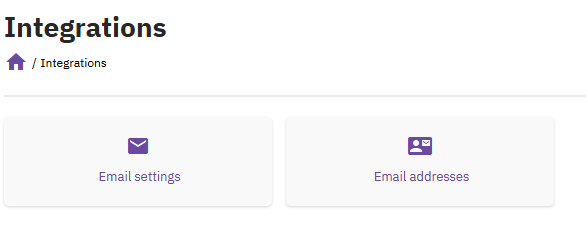
- Go to Integrations.
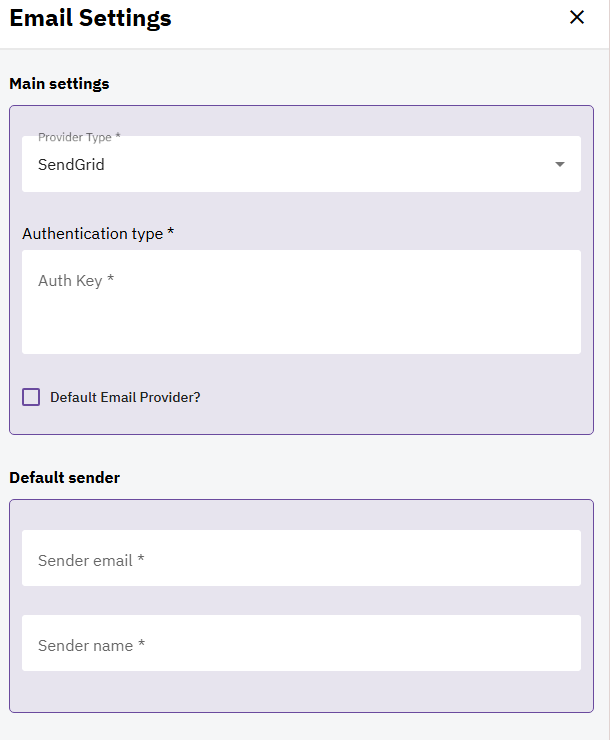
- Select Email Settings.
Set Up Email Providers:
- In the Email Settings section, set up your email providers. This will enable the platform to send emails on your behalf.
Add Email Addresses:
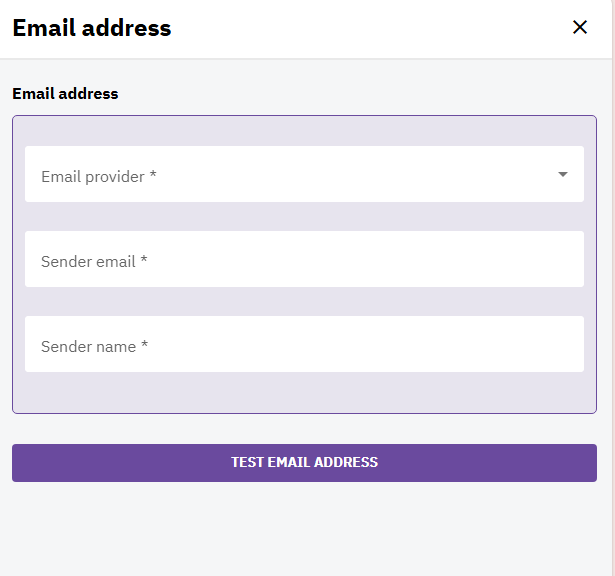
- After setting up the email provider, go to Email Addresses (under Integrations).
- Add the email addresses that you will use for sending emails.

2. Create Email Templates
To streamline the process of sending emails, you can create predefined email templates.
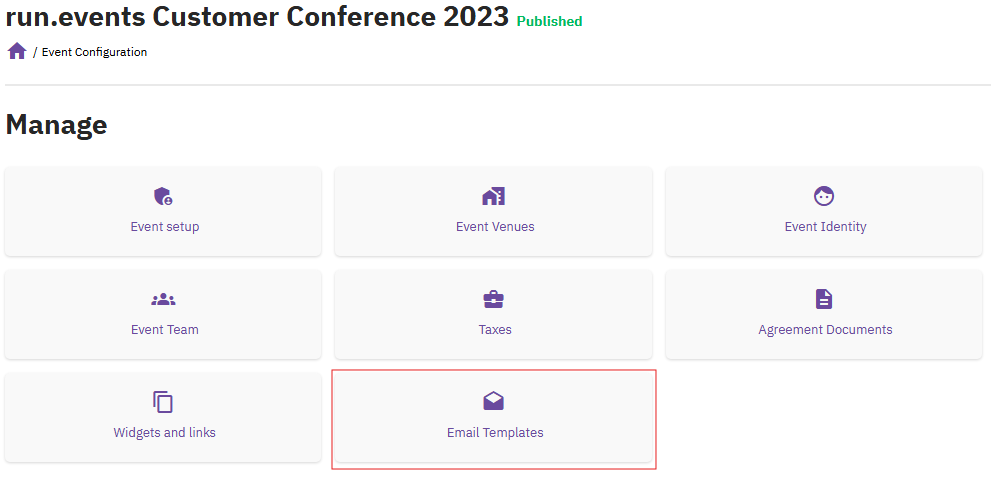
Access Email Templates:
- Go to Settings in the event dashboard.
- Select Email Templates.
Create Templates:
- Predefine the emails you will use for communication with attendees. This will allow for quicker and more consistent email sending.

3. Sending Emails to Attendees
Once you have completed the setup, you can begin sending emails to attendees.
Navigate to Tickets:
- Go to the Event Dashboard.
- Select Tickets and Attendees.
- Then choose Tickets.
Select Tickets:
- Select one or more tickets to enable the Send Email button.


Send the Email:
- Choose the email address from which the email will be sent.
- Designate the recipients (attendees).
- Optionally, select a predefined email template to use.
