

Transferring participants to run.events from another ticket platform
It may happen that you sold your tickets through a platform other than run.events. Since you now intend to use run.events to manage your event, and you also want your conference participants to be able to use the run.events mobile application, it is necessary that they have tickets assigned to them in run.events. Below, you will find the simplest solution to transfer users with valid tickets (bought through another platform) to run.events in the least invasive way possible.
Organizer setup:
You create a new ticket type for the group of people whom you wish to transfer from any ticket system to run.events.
Step 1
Create a new ticket type, we call it “Free ticket”:
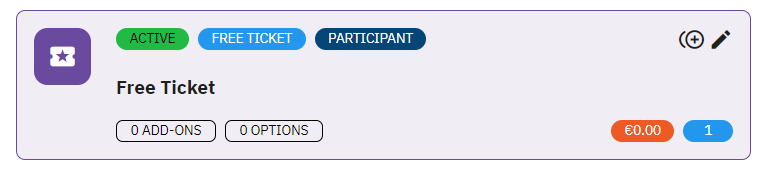
In the ticket in configuration it must be set as “Free”:
Ticket for “Participant”:
It should not be publicly visible:
Save this ticket type.
Step 2
Go to “Vouchers” and create a new voucher which reveals this ticket type in a checkout process:
The example above assumes one voucher code, however you can also create unique voucher codes to be shared with this group of Participants. To do it you can use “Create multiple vouchers” option:
In multiple vouchers setup you may also decide about ticket reveals, etc.
Step 3
Now you must share the voucher code(s) with the group of attendees to transfer them to run.events.
Attendee journey:
To present the attendee journey the brand new Gmail account has been created. It has never been logged in into run.events.
Attendee goes to checkout and uses voucher code he/she got from you. After providing a voucher a new ticket type reveals:
The attendee is transferred to run.events login page. He/she must procced with his/her account creation process. Since we use Gmail account, the Google account is taken:
Required account confirmation in run.events must be provided:
The final steps to have a ticket in place:
1) Let’s start button:
2) Assigning a ticket is recommended – it can be done later, too.
3) Placing order.
4) Decision if the ticket is ordered as individual person or as company. Selecting relevant:
5) Agreeing on Terms & Conditions (if applicable) and “Purchase now”:
6) Ticket has been successfully issued: