This section guides you through the process of managing tickets, filtering, and sorting ticket data, and interacting with attendees via email or by resending invitations.
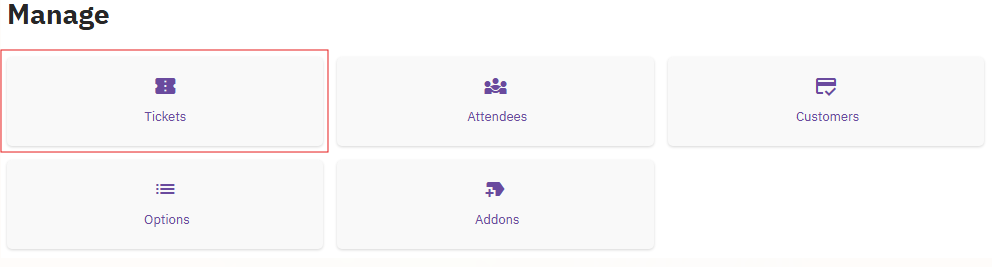
1. Accessing the Tickets Screen
1.Navigate to Tickets:
Go to the Event Dashboard.
Choose Tickets and Attendees.
Then select Tickets.

2.Filtering and Sorting Tickets
Once you are on the ticket screen, you can organize and filter your tickets to easily manage attendee information.
1.Filter Tickets:
Use the Search button to filter tickets based on various criteria such as:
- Attendee names
- Ticket type
- Payment status
- Vouchers
- Add-ons, etc.
2. Sort Tickets:
Sort the tickets by clicking on the column headers. Sorting can be done by name, ticket type, payment status, and other displayed criteria.

3. Customizing Columns:
Click on the Custom Columns button to add or hide columns in the ticket table view. This allows you to tailor the view to show only the information you need.
3. Interacting with Attendees
There are multiple ways to interact with attendees directly from the ticket screen.
1.Resending Invitations:
Select one or more tickets.
Click on the Resend Invite button to resend an invitation to attendees, allowing them to claim their tickets.

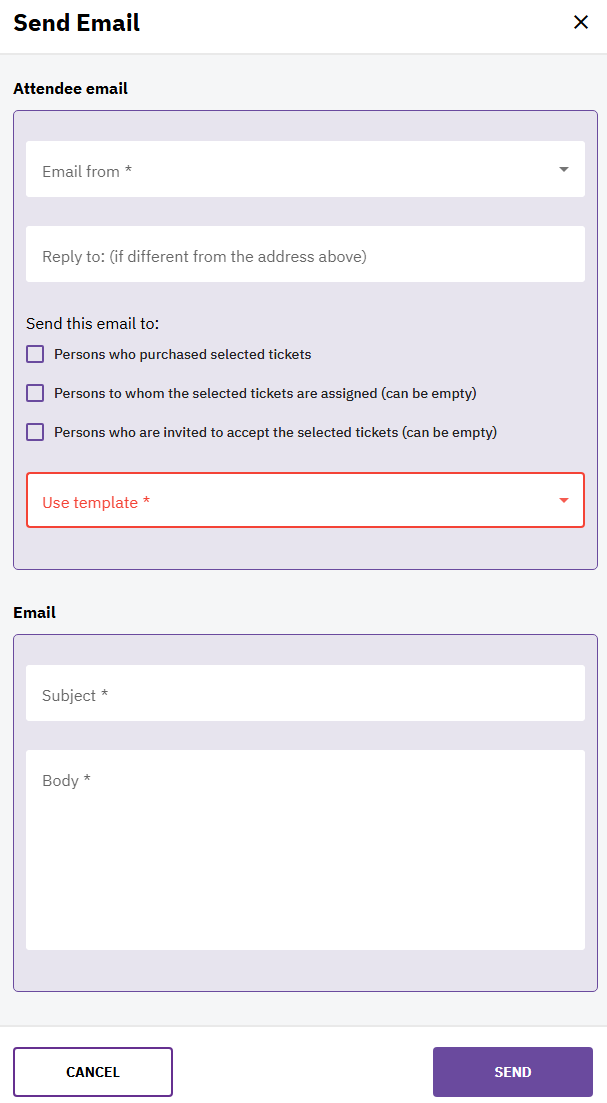
2.Sending Emails:
After selecting the tickets, you can send emails to the attendees:
- Choose the Email Address: Select the email address from which the email will be sent.
- Designate Recipients: Specify the recipients.
- Select an Email Template: Optionally, choose a predefined email template from the Event Configuration under Email Templates.
In the following article, find more information about: Sending emails to Attendees | Ticketing & Registration | run.events.