In cases where you want sponsor details to be open on a separate page on your website (instead of opening the sponsor's website), you will need to make some slight adjustments to the sponsors widget itself (the widget which lists sponsors on your website), and to create a separate webpage which is going to host sponsor details. It will be enough to create one separate page for sponsor details; there is no need to do it for each sponsor.
But first things first: you will need to make decisions on which sponsors/exhibitors will have their own web pages.
First, you will need to turn this on as an option in Sponsorship Labels: Sponsor Labels | Sponsor management | run.events .
Go to: Sponsors -> Sponsorship Labels Create a Sponsor label and apply options visible on next picture:
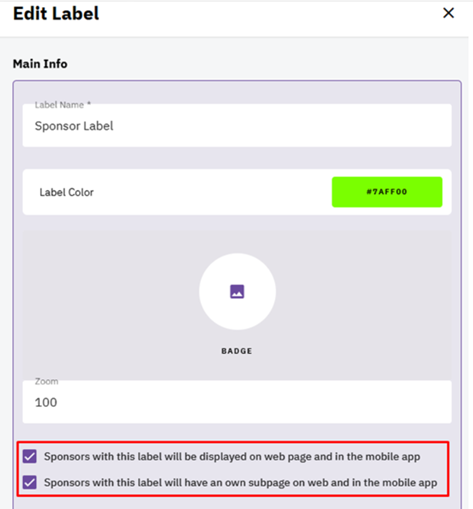
This is because you will typically want to enable this option as a sponsorship benefit for the more expensive packages.
After doing so, next requirements for widget implementation:
- web pages (Sponsors and Single Sponsor)
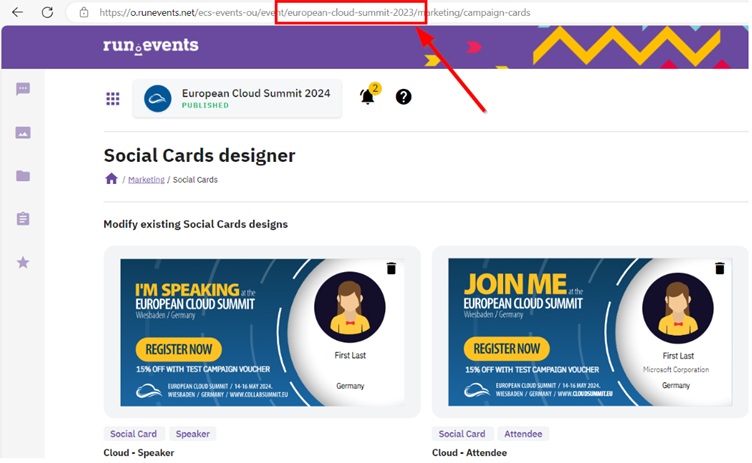
- event slug – identifier
This is where you will find your event identifier:
Open the page where you have a widget which lists all the sponsors (described above). Do the following changes in the widget code:
<runevents-sponsors checkout-url="https://e.runevents.net"
api-url="https://api.runevents.net/api"
slug="[[your-event-identifier]]"
redirect-url="https://your-website.com/your-page-for-single-sponsors/">
</runevents-sponsors>
Notice the last line in the widget above, with the "redirect-url" parameter? This is where your website visitors will be redirected after they click on the sponsor's name on your sponsors page, if that sponsor fulfills both conditions mentioned above (the sponsorship package booked includes having a separate page, and a separate page was not disabled for this particular sponsor).
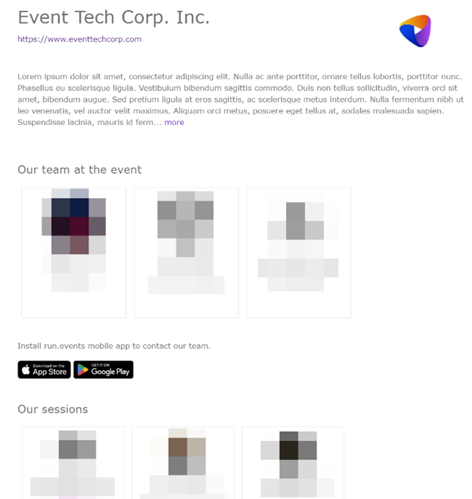
This is how the individual sponsor page will approximately look like.
Once you create a single sponsor page, you also need to add the widget inside the single‑sponsor page:
<runevents-single-sponsorship checkout-url="https://e.runevents.net" api-url="https://api.runevents.net/api" slug="[[your-event-identifier]]" />