Single Session Widget implementation
If you want session details to open on a separate page, you will need to make some slight adjustments to the sessions widget itself (the widget which lists sessions on your website), and create a separate webpage that will display single session details. It will be enough to create one page; you don’t need to create a separate page for each session.
For widget implementation you will need:
- web pages (sessions and single session)
- event slug – identifier
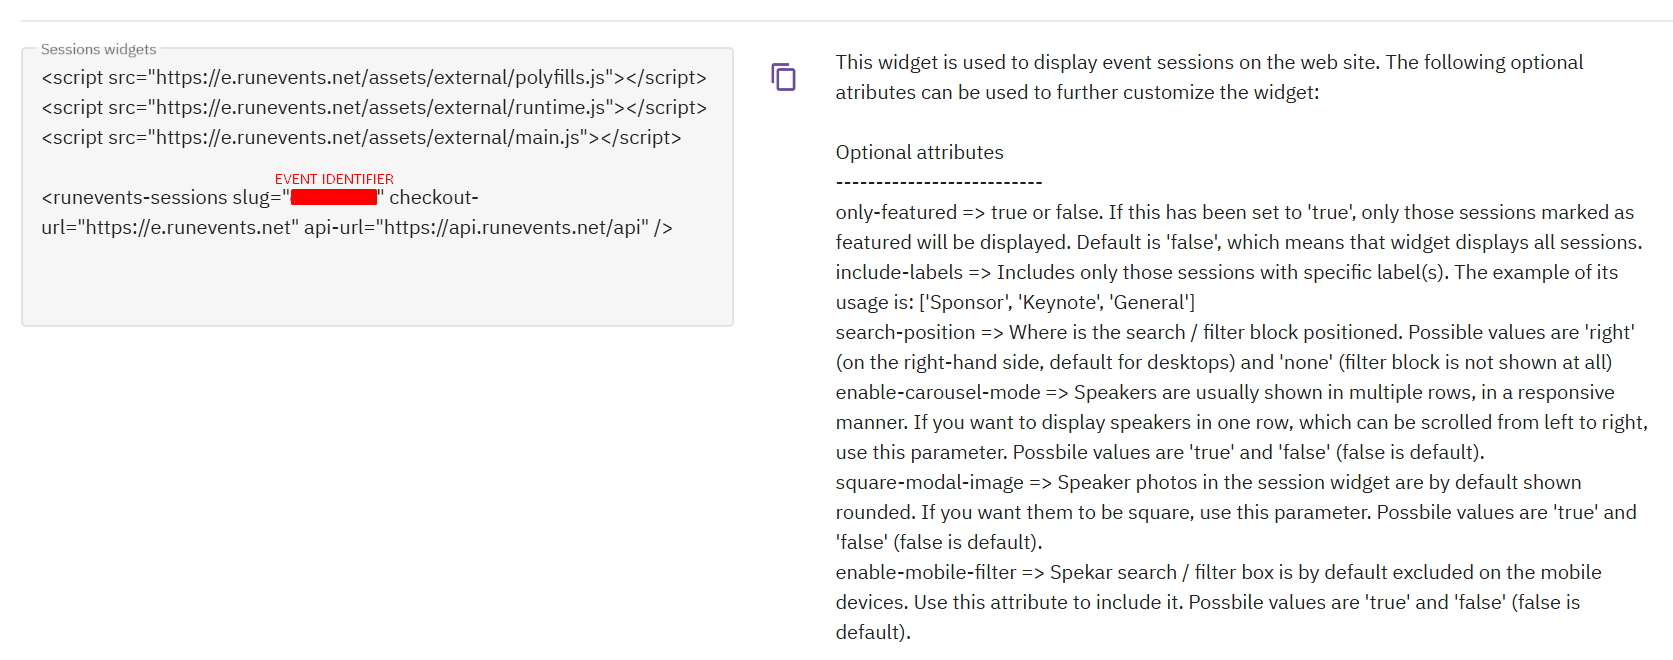
How to find event slug (identifier)?
You can find it in your organizer URL shown in the next picture.
![]()
Setup Instructions
Open the page where you have a widget that lists all the event sessions and modify the widget code. These are the required changes for the single session widget code to work:
<runevents-sessions
checkout-url="https://e.runevents.net"
api-url="https://api.runevents.net/api"
slug="your-event-identifier"
redirect-url="https://your-website.com/your-page-for-single-..."
</runevents-sessions>
Important note: The last line of the widget above contains the "redirect-url" parameter. This parameter specifies where your website visitors will be redirected to after clicking on a session in sessions page.
After the redirect, that page needs to display the relevant session data using a widget. This means you’ll need to add another widget, on the single session page.
The code should look like this:
<runevents-single-session
api-url="https://api.run.events/api"
slug="your-event-identifier"
square-modal-image="false">
</runevents-single-session>
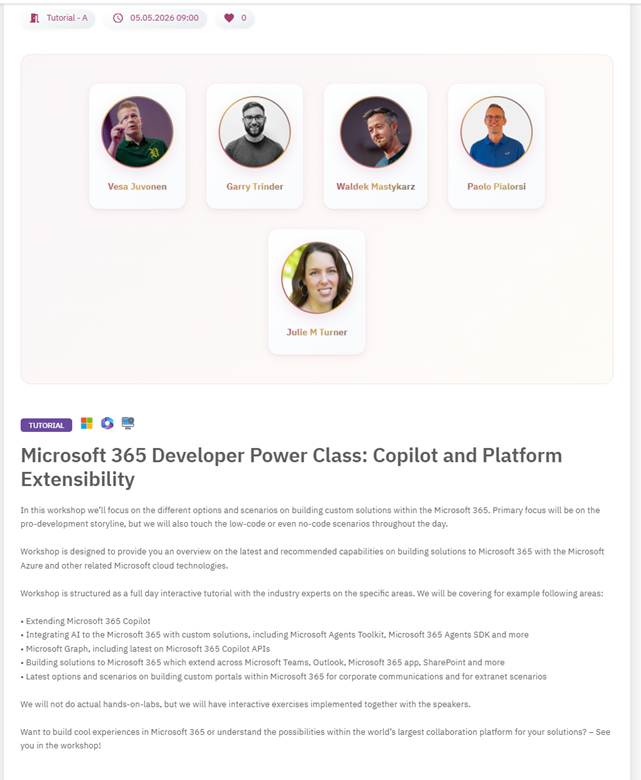
Note: The [[square-modal-image="false"]] parameter makes the speaker images appear circular. Below is an example of how the single session page will look like.