The Kiosk App is used for self-service check-in. You can set up stands with tablets that will scan the ticket QR codes and print badges. To set up Kiosk App:
1.Navigate to URL: https://kioskapp.runevents.net/
2.Download and Install the app (“Get the App”)
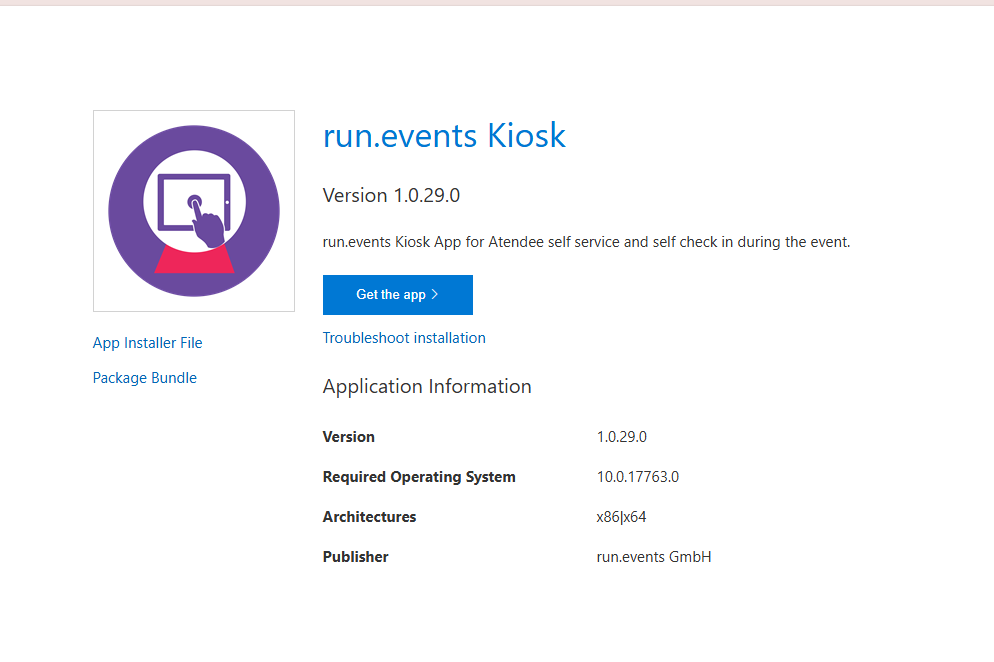
Run the appinstaller which you will find in the downloads folder:

After successful installation app should be installed on the machine.
3.Run the app
4.Initializing the app: The first presented screen will be for app initialization with the QR code.
Genereting QR Code
To generate the initialization QR code, go to your event dashboard on run.event.In the section “Badges and Check-in”, open the tab “Kiosk App Setup” and click on “Create New Configuration Key”.
Choose “self-service” from the dropdown field “Configuration Key type”:
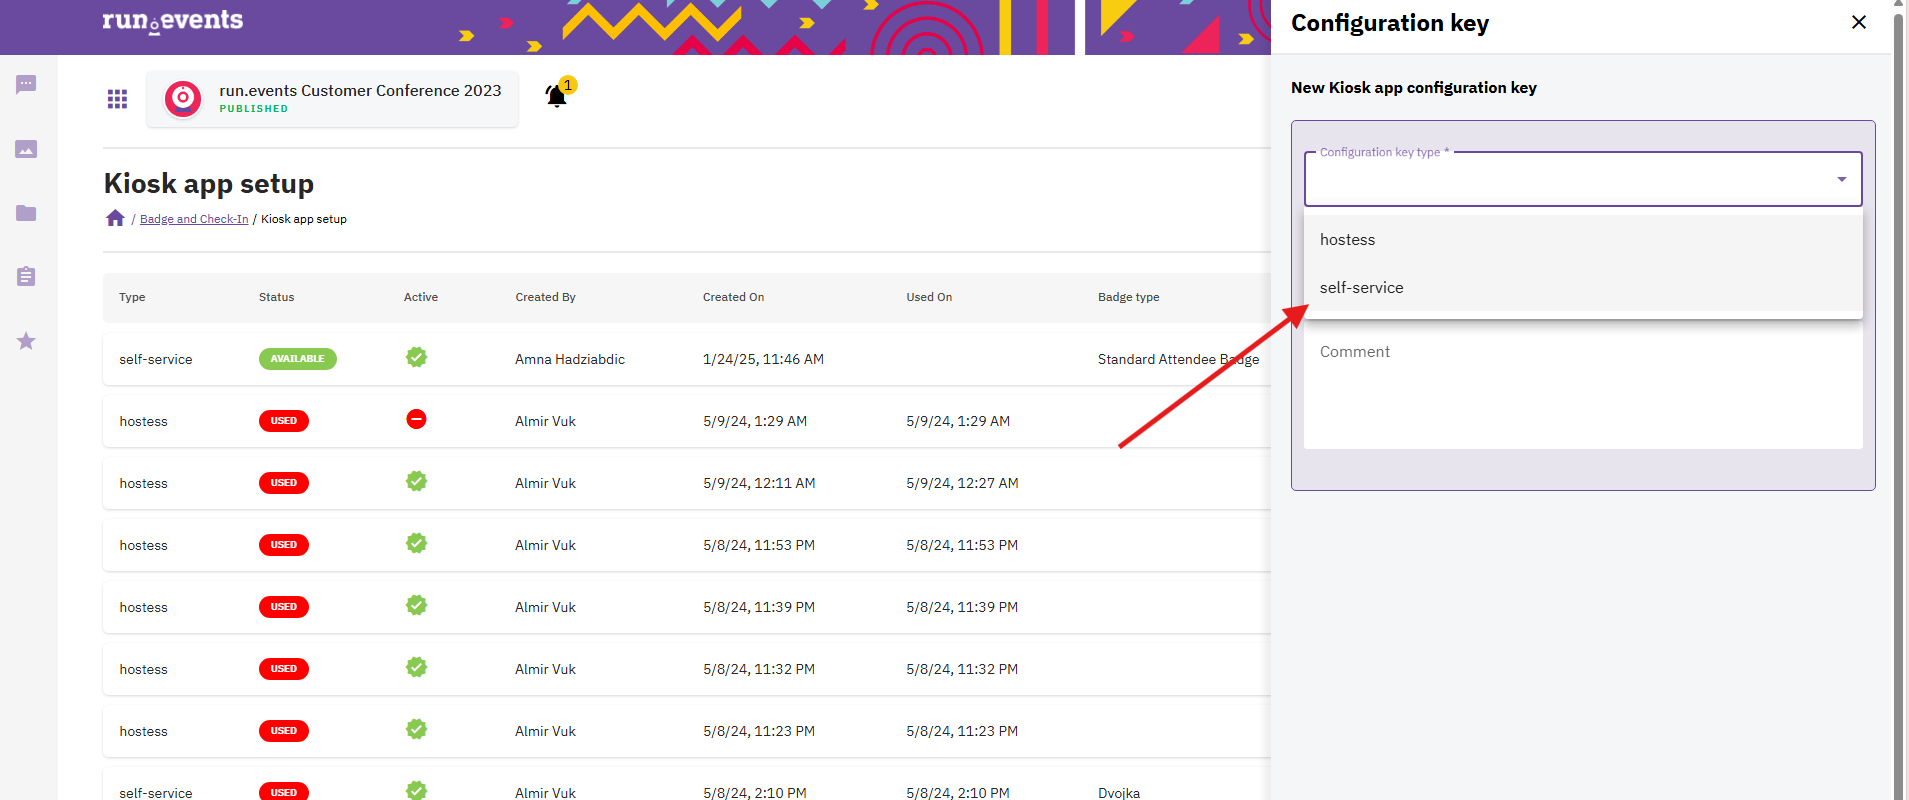
Add as many QR codes as there are devices that will be used for self check-in.
After saving your new Configuration Key, it will be listed in the table of the Kiosk app setup screen.
Now, click on the green QR Code icon to open the QR Code:

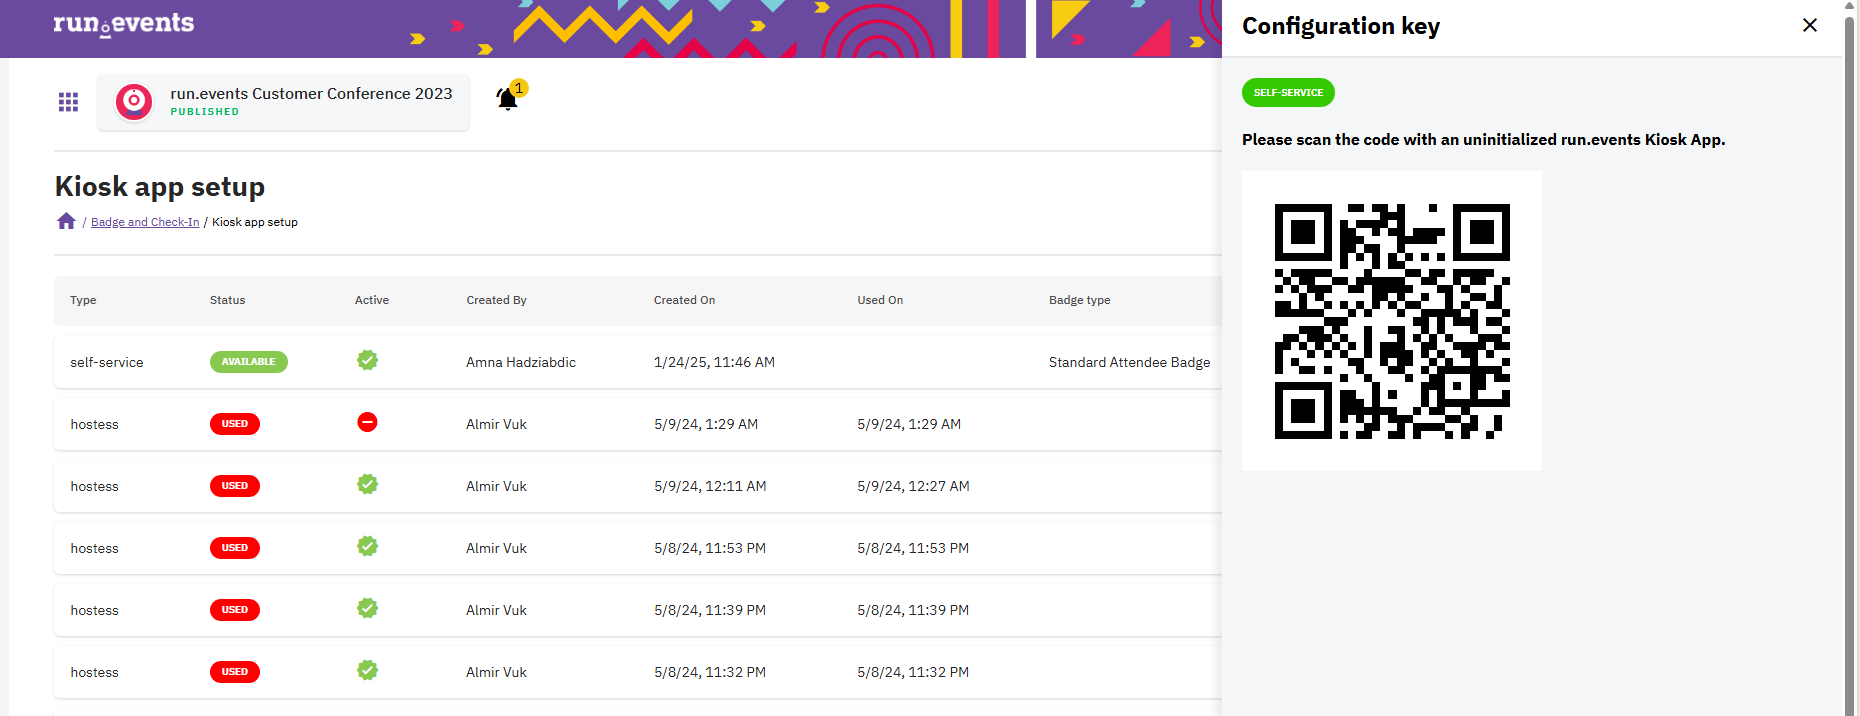
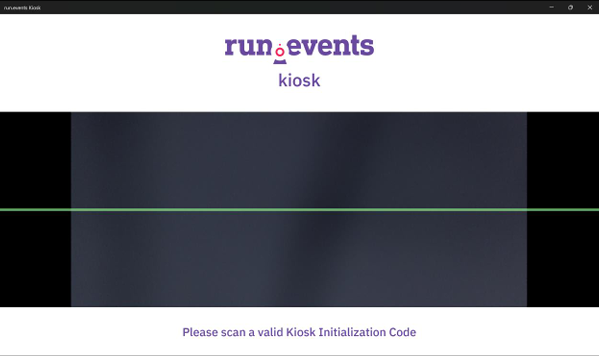
After you scan the code with Kiosk App, you should get this screen, informing you that the initialization part was successful.
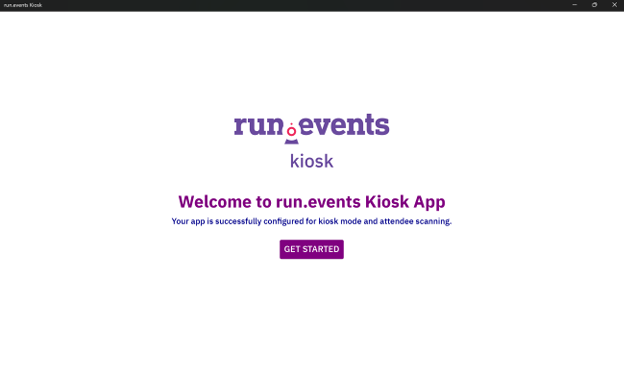
Clicking on Get Started, the kiosk app is ready for scanning Tickets.
The QR attendees are scanning is the one they got in the email after fully assigning their ticket.
The screen where you can scan Ticket looks like this:
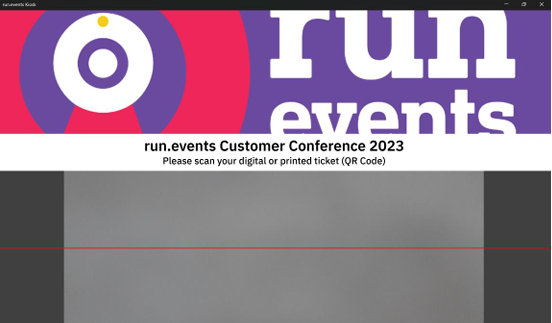
After scanning ticket, the user should be presented with the following screen:
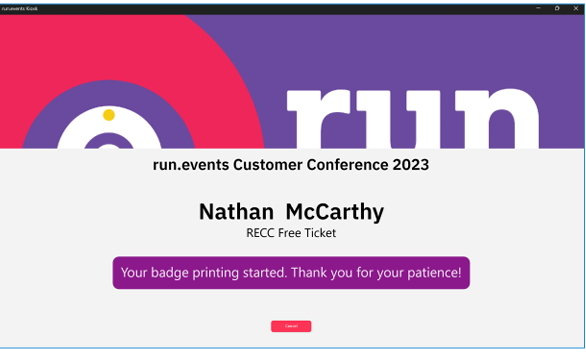
The badge should be printed, and the app should navigate back automatically to wait for other tickets to be scanned.


