Creating the agenda is a huge aspect of event planning. Deciding which session will take place, in which time slot, and in which session room will decisively impact many other aspects of the event plan.
Room management
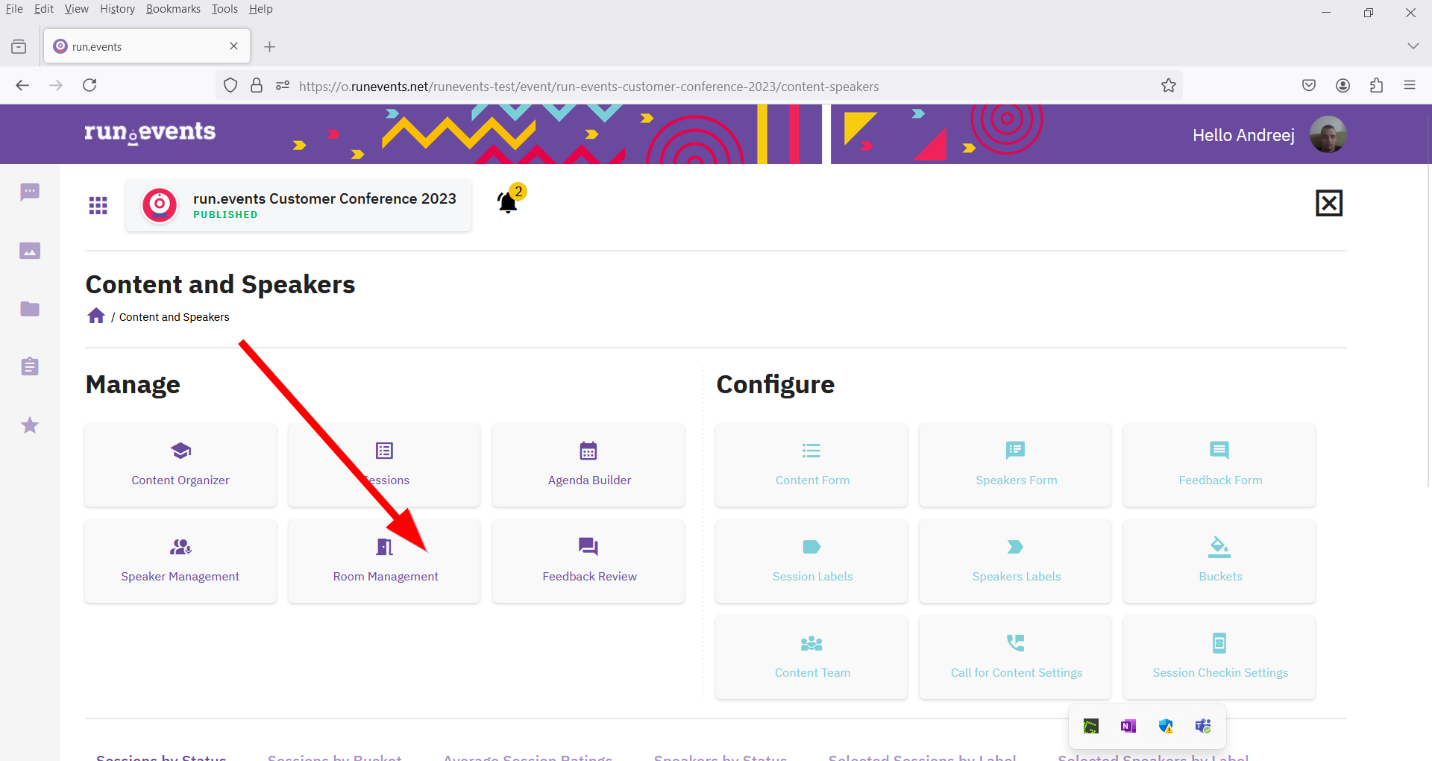
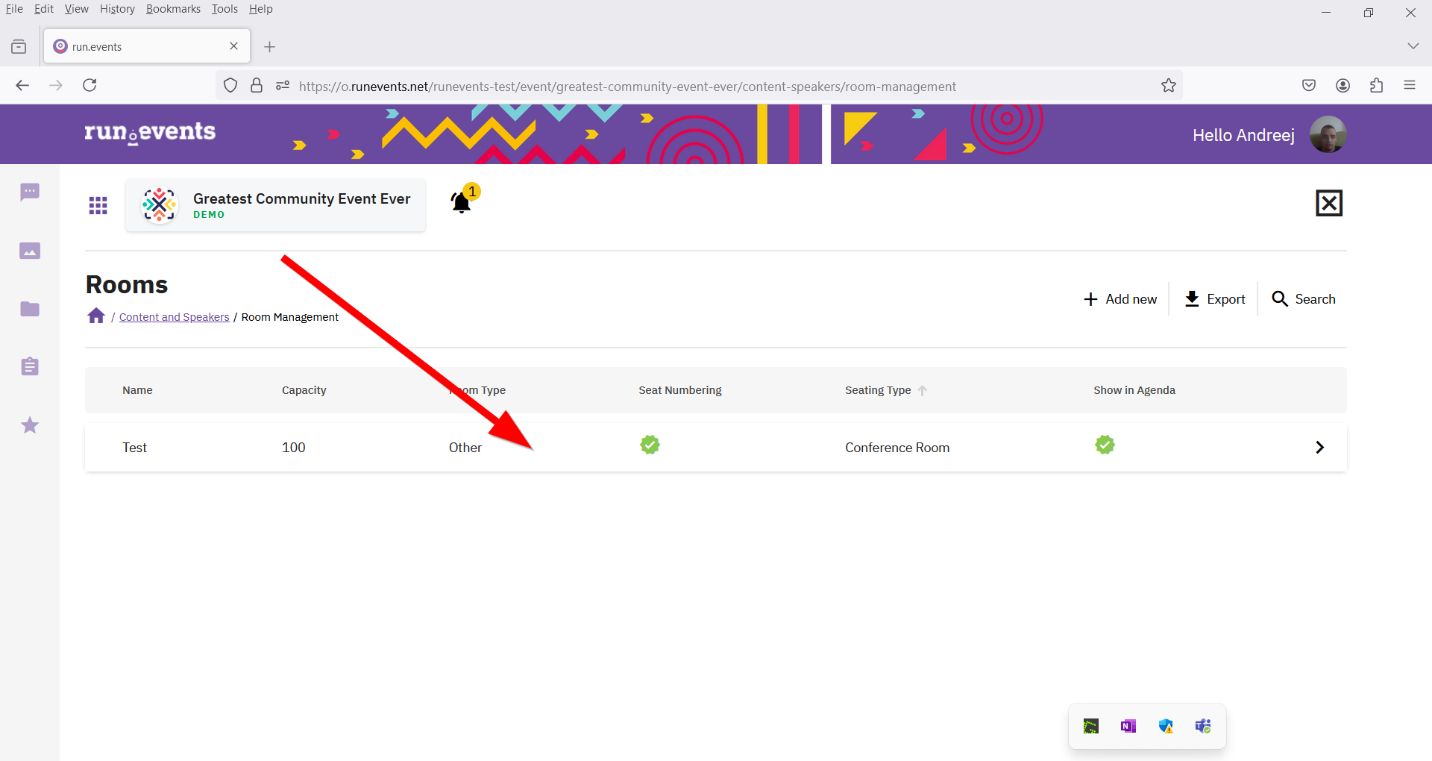
The first thing that you need to do is to define your rooms. You can access the Room management screen directly from here or from run events' Content and Speakers section. Once defined, rooms will be shown as columns in the agenda builder.
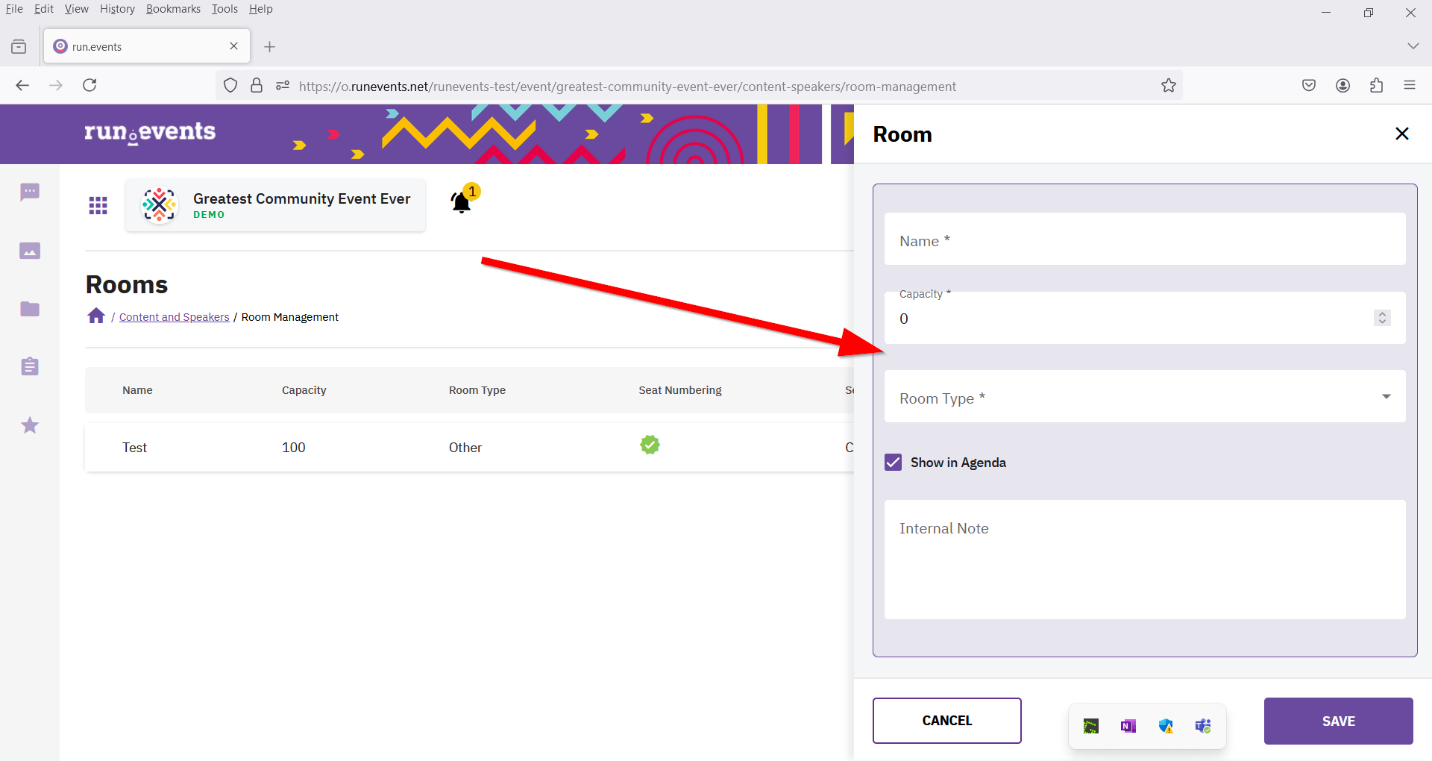
To create a new room, go to add new and a window will open on the side where you can enter the name, room capacity, and type (session room, meeting room, etc.)
The show in the agenda field tells whether the room is displayed in the agenda builder. If you want to display the seating arrangement, check the seat numbering field and select the desired seating arrangement (banquet, circle, classroom).
If it is exclusively an in-person event, select the venue where it is held.
If the event is online, check the online room checkbox, select the type of link, and enter the link through which it can be accessed (only if you have previously turned on toggle online event in the event venue, see event venue management).
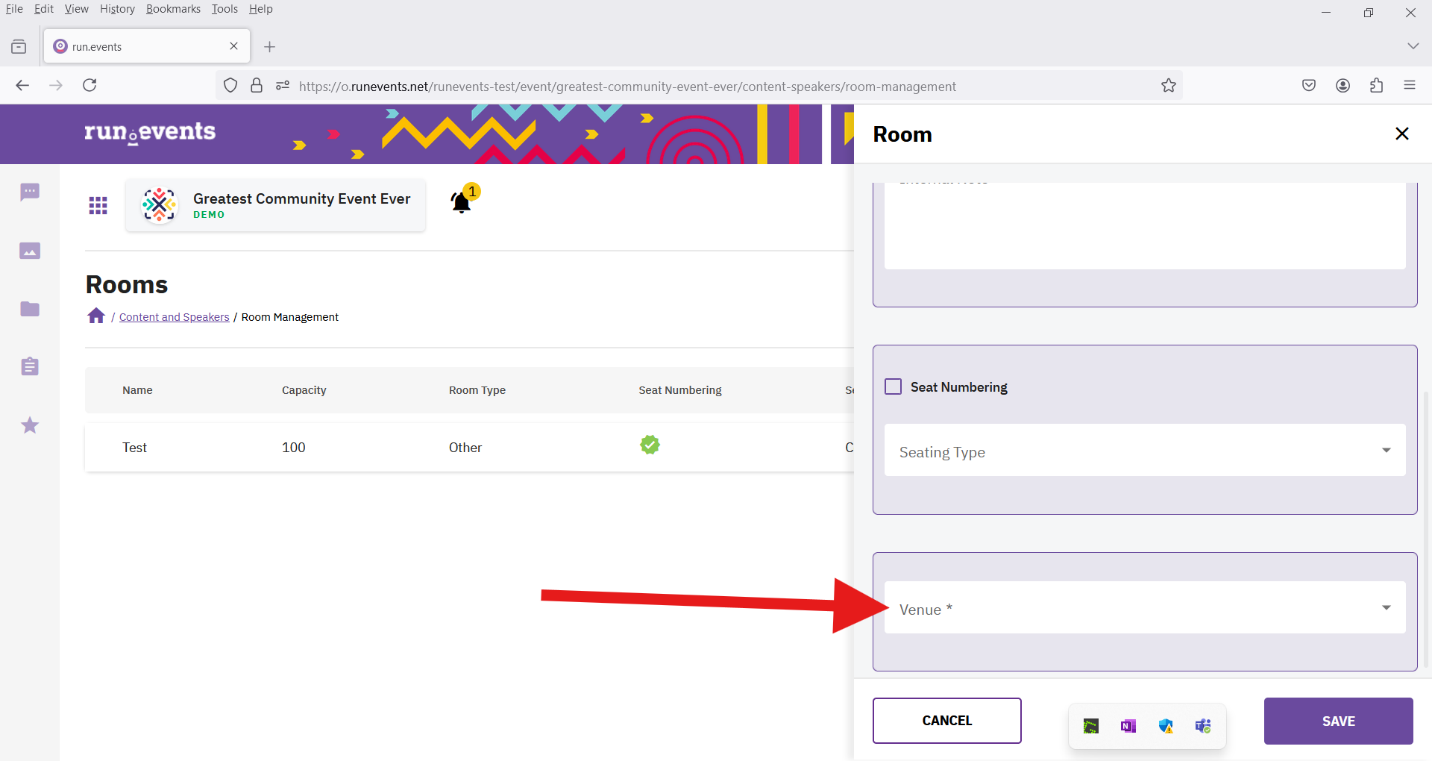
Click save and your room will be displayed in room management.
Event venues
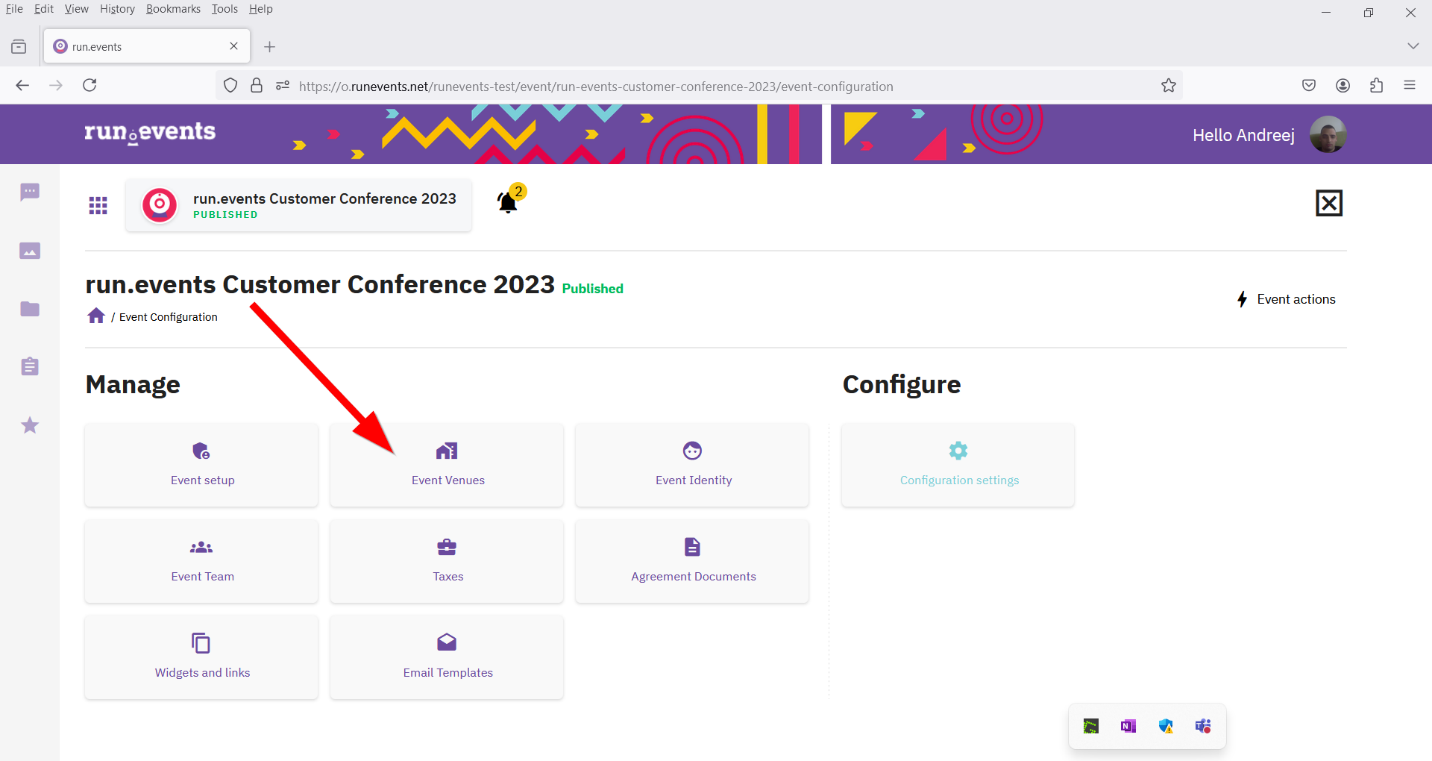
Go to: Event level -> Settings -> Event Venues
In order to configure venues, it is necessary to go to event venues.
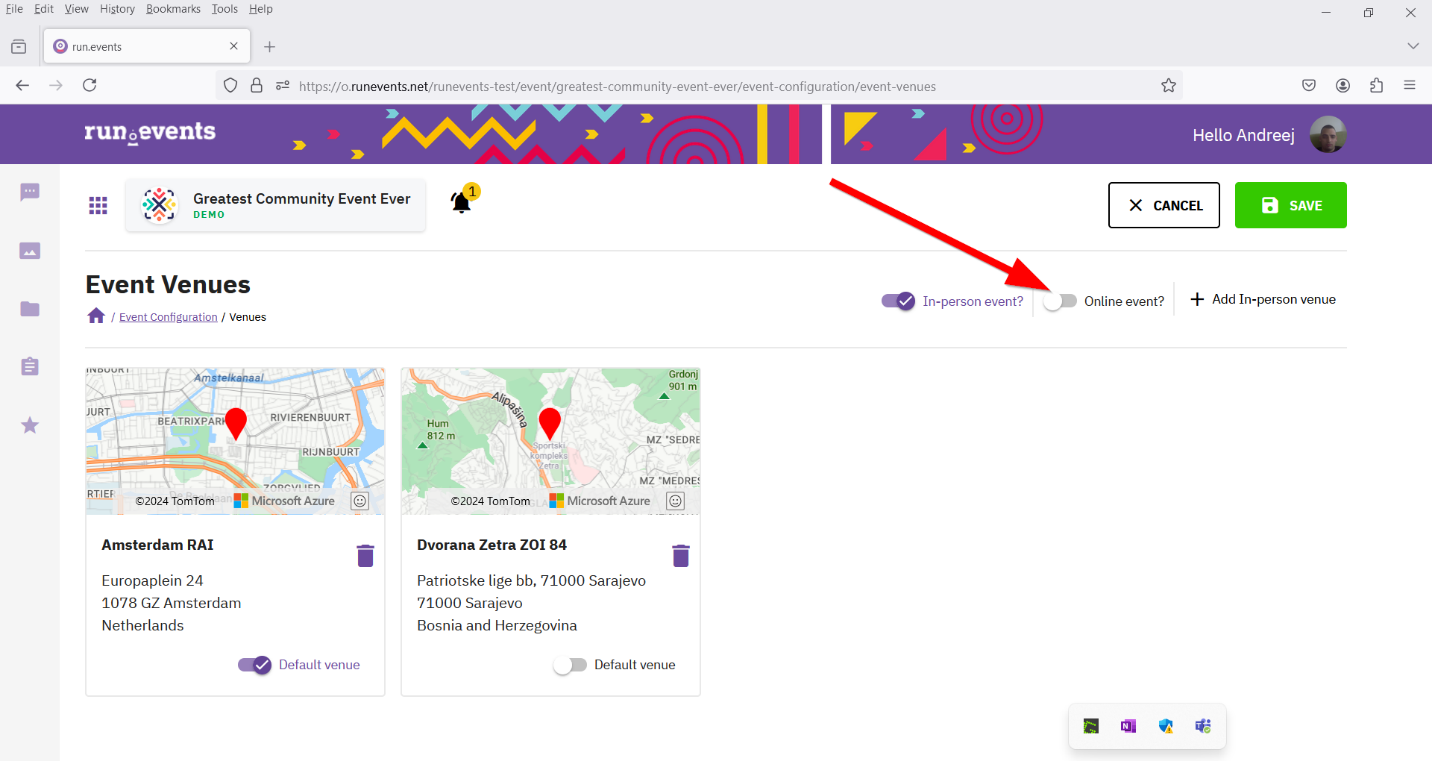
When you open event venues, you will be able to choose whether it is an in-person event or an online event (or both). In the case of an in-person event, turn on the toggle in-person event to enable it.
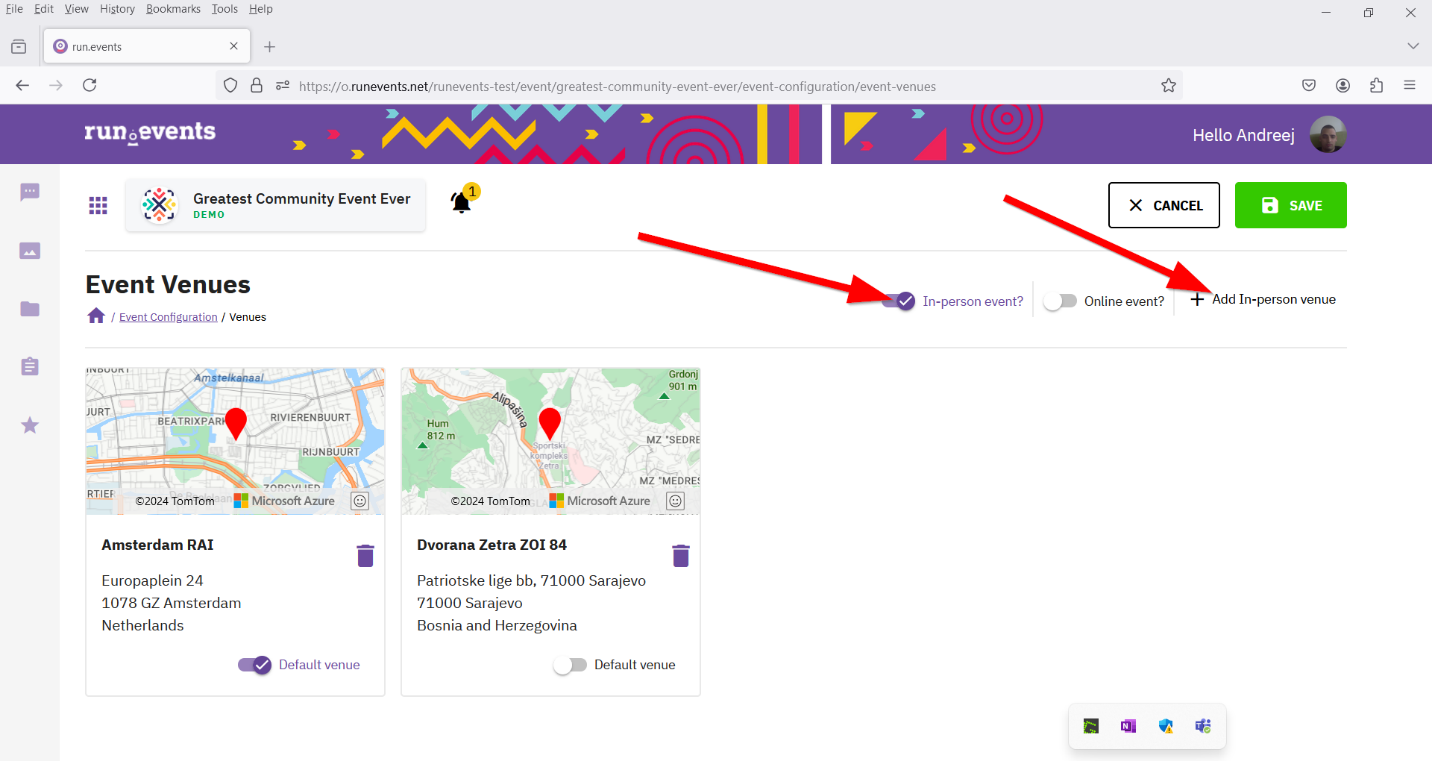
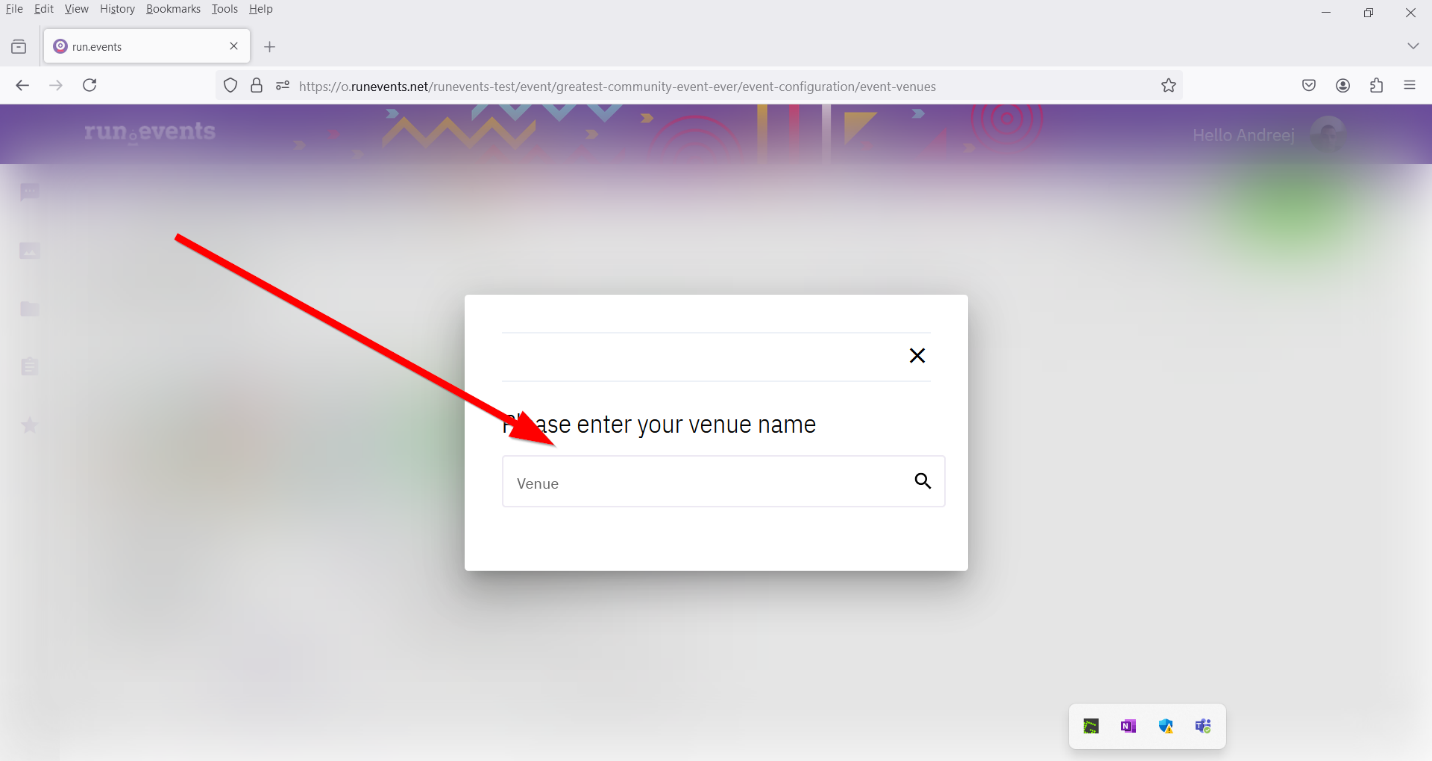
Then add the event to the add-in-person venue, after which a pop-up window will open where you can choose the exact location of your event. Below the event, you can set the event to be the default and there is also an option to delete it, provided that there is no session room associated with that event.
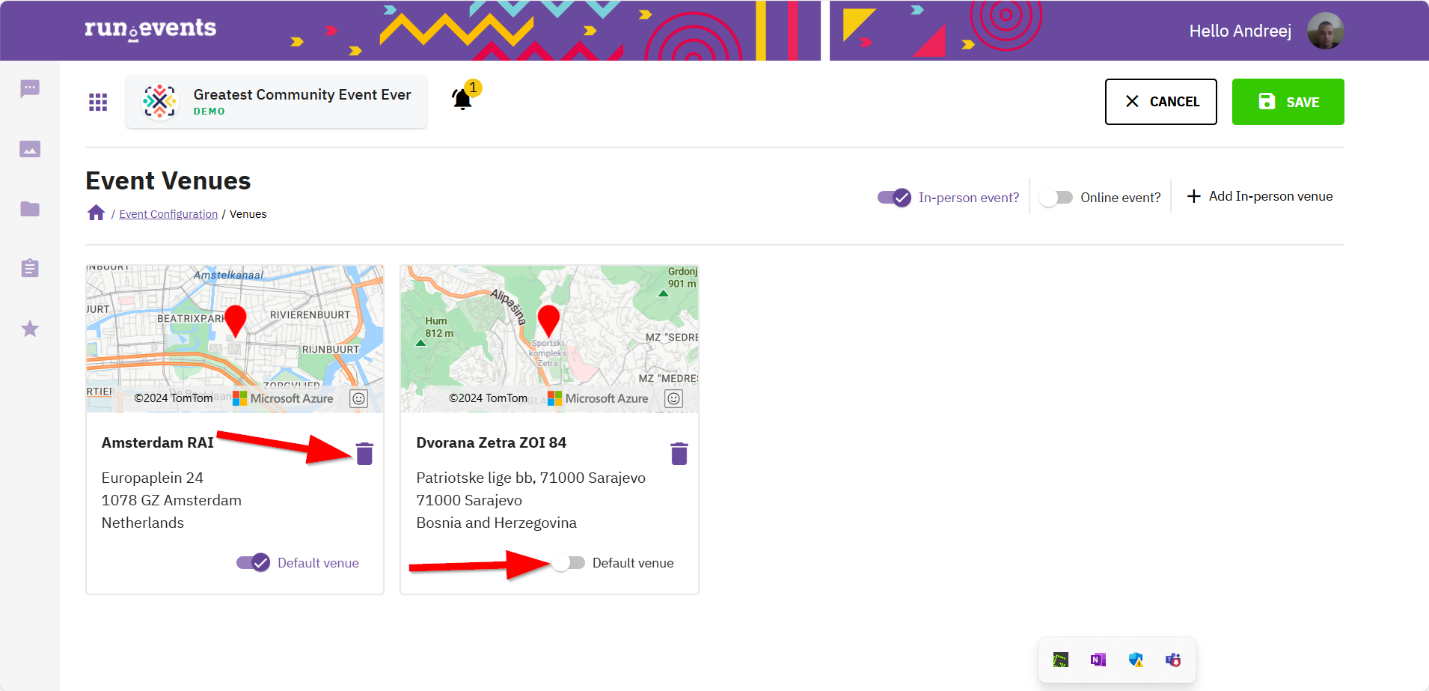
For online events, it is necessary to turn on the toggle and thus enable the creation of event rooms for that event.
