Before creating an agenda, ensure that rooms are set up in Room Management. Rooms must be configured in advance to allocate sessions to specific spaces.
Learn more: Configuring and Managing Venues and Rooms | Content and Speakers | run.events
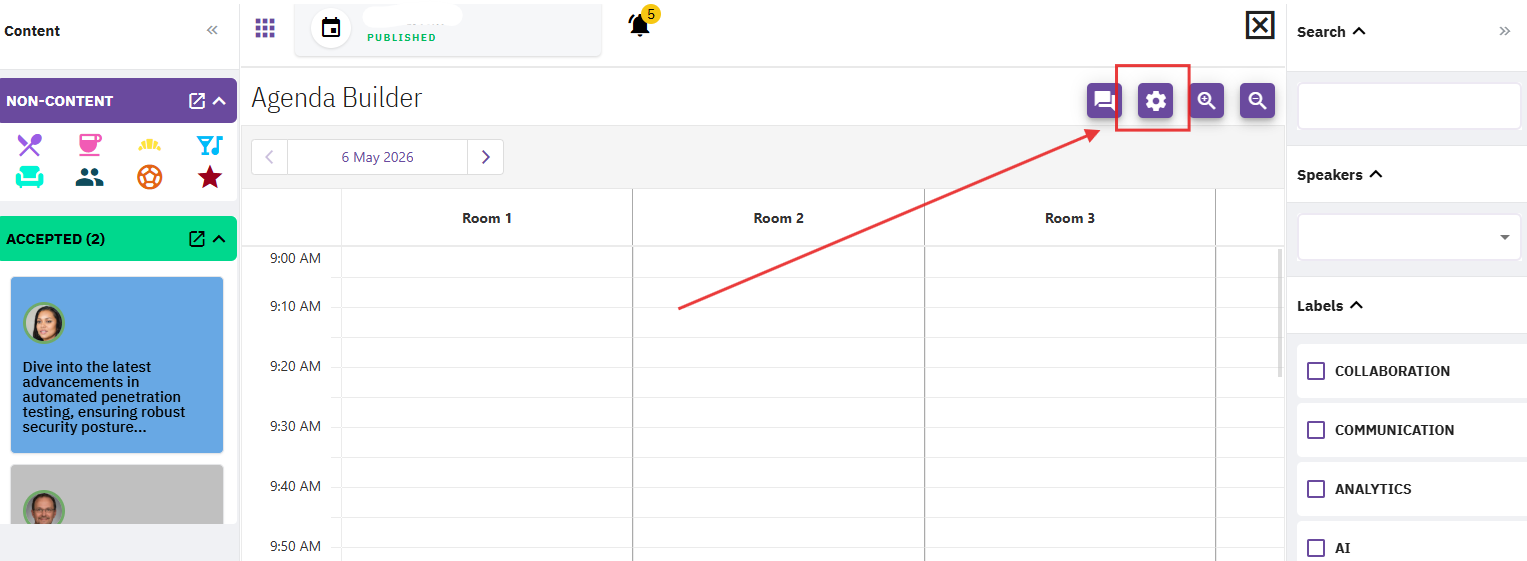
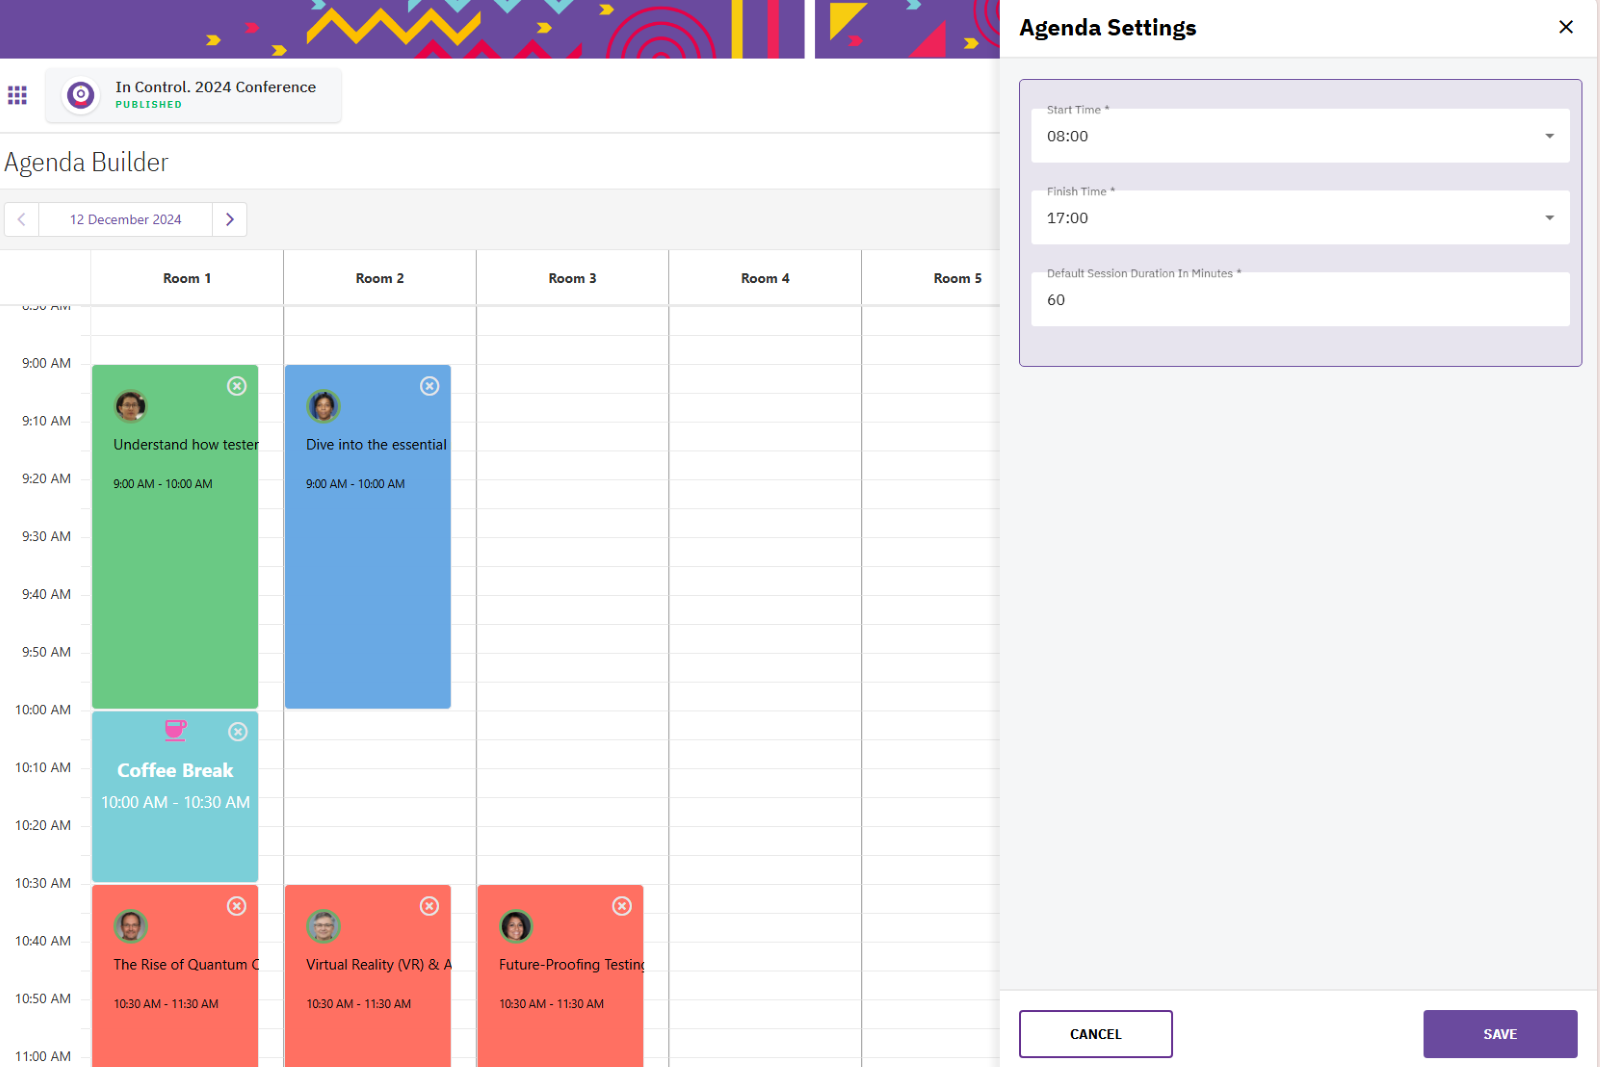
Configure Agenda Settings
- Define Agenda Settings:
- Set the Start Time and Finish Time for the agenda.
- Specify the Default Session Duration.
Each session moved to the agenda will initially adopt this duration setting, but you can adjust it directly on the agenda. Once placed on the agenda, sessions can be expanded or compressed to change their duration. Drag the session borders as needed.
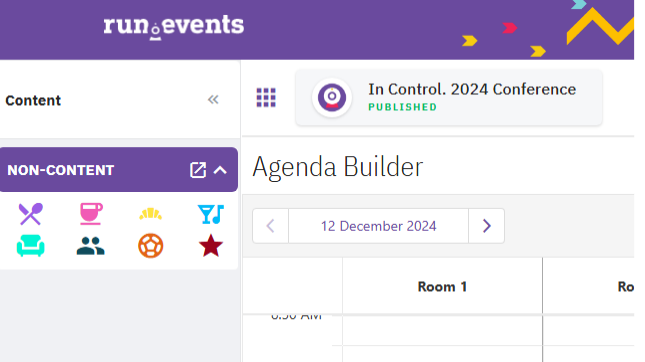
Agenda Builder
After your rooms have been created, you can proceed to the Agenda Builder.
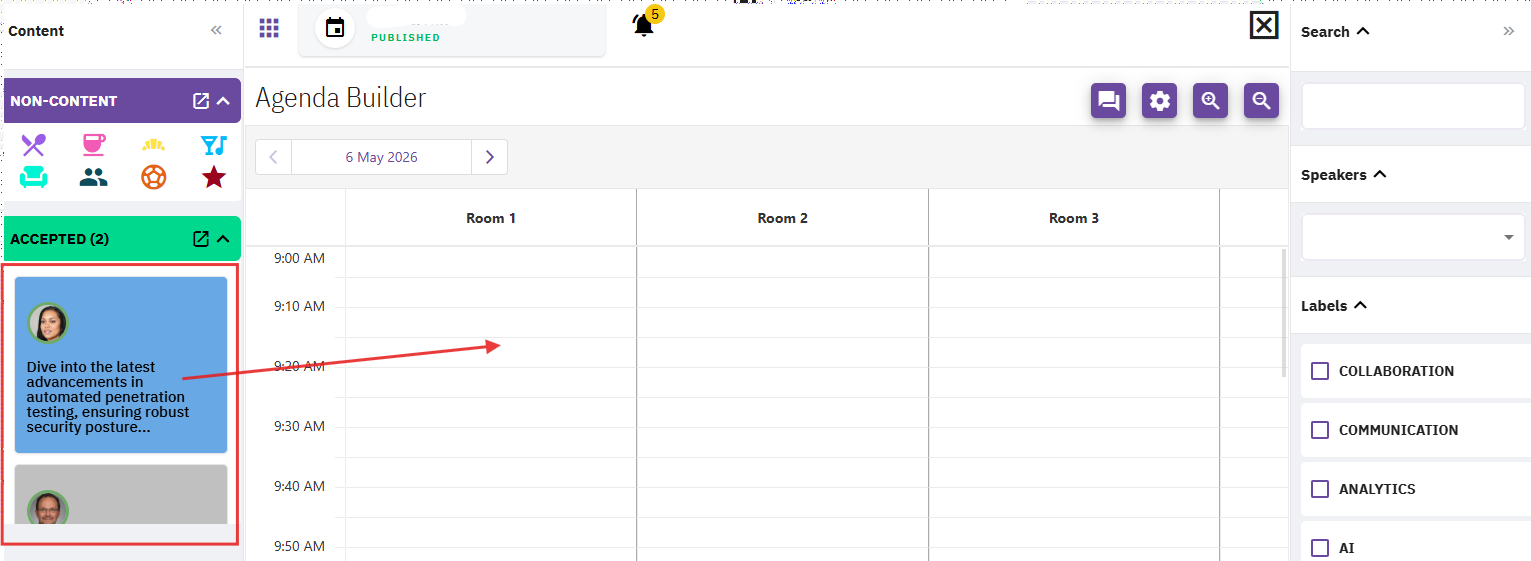
On the left side, you will see a list of sessions that are eligible to be added to the agenda. A session appears here only if it meets both of the following conditions:
- The session is in the Accepted bucket in the Content Organizer, and
- All assigned speakers for that session are Confirmed.
Only sessions that satisfy these requirements are considered complete and ready to be placed on the agenda. This ensures that the agenda displays only finalised, valid sessions with approved content and confirmed speakers.
Adding Non-Content Time Blocks
For breaks or other non-content time blocks, use the icons in the top left corner to add elements such as Coffee Break, Lunch, etc.
Editing Sessions in the Agenda Builder
Once a session has been placed on the agenda, you can edit its details directly from the Agenda Builder.
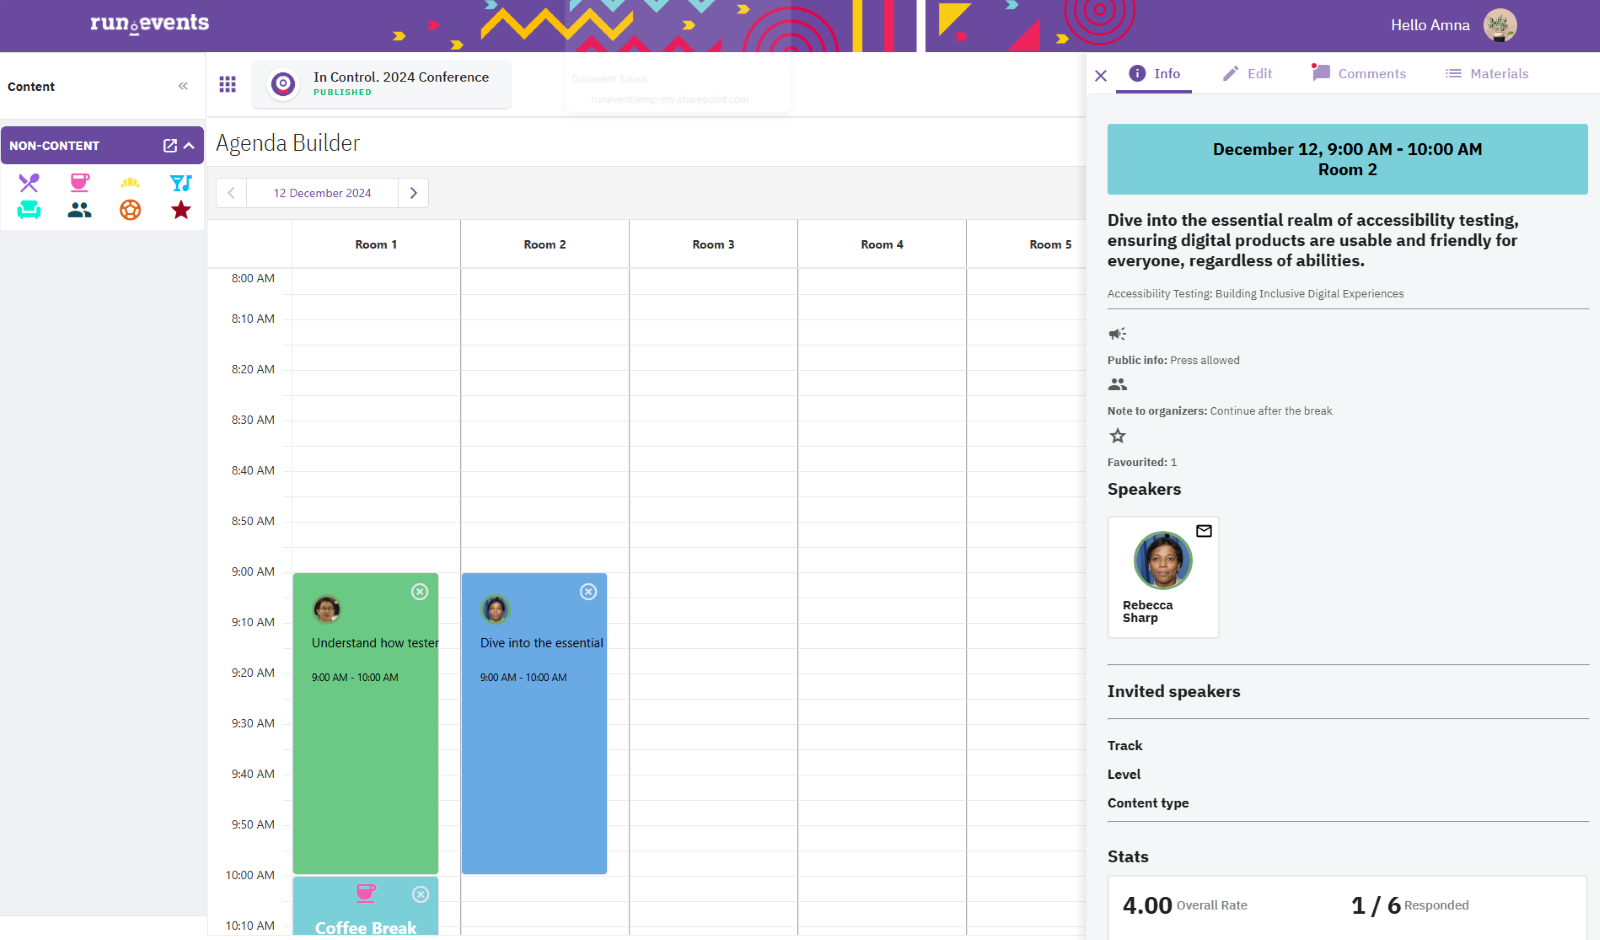
Click on the session card to open Flyout Menu with four tabs:
- Info: Review session details, rating, and manage labels.
- Edit: Edit session details and manage speakers.
- Comments: View and add comments related to the session.
- Materials: Access submitted materials or upload new ones.