🔧 Configuring Your Stripe Connect Account
To manage all your financial transactions securely and efficiently, run.events uses Stripe Connect. With our full integration, you can handle everything directly through run.events—no need to switch between platforms.
Check Stripe Availability
If you are operating in a country which is not supported by Stripe, don't hesitate to reach out to us to discuss options for our payment collection services.
Alternatively, we as run.events, can support in the way to provide you Ticketing Service, for more information, contact our team: sales@runevents.eu.
Want to know more about Stripe fees?
Check out our Pricing & Fees page.
Online payments Settings / Stripe Settings
On the Organization level go to Payment Settings -> Stripe Settings -> Set Up Stripe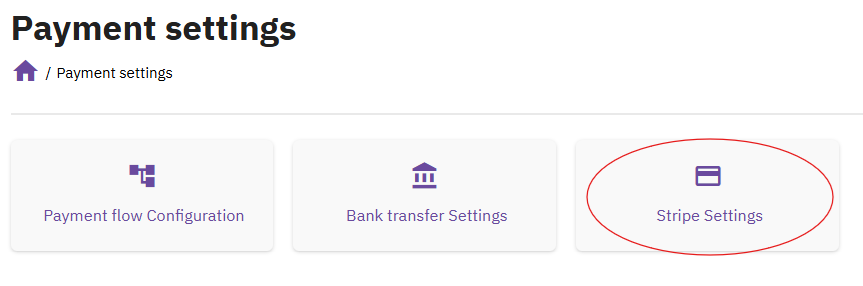
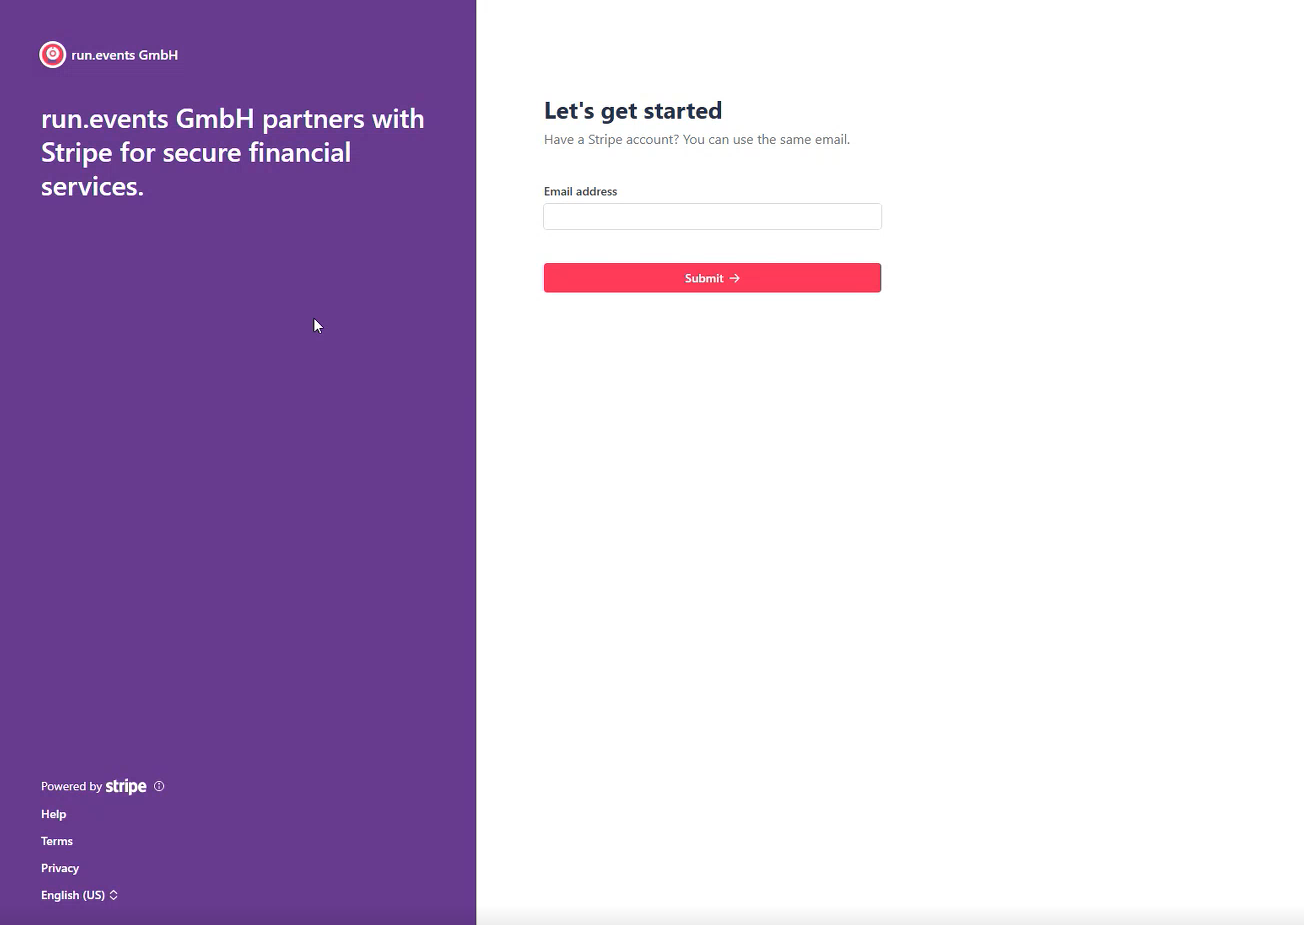
📨 Step 1: Enter Your Email Address
Start by entering the email address you’d like to use to open your Stripe Connect account.
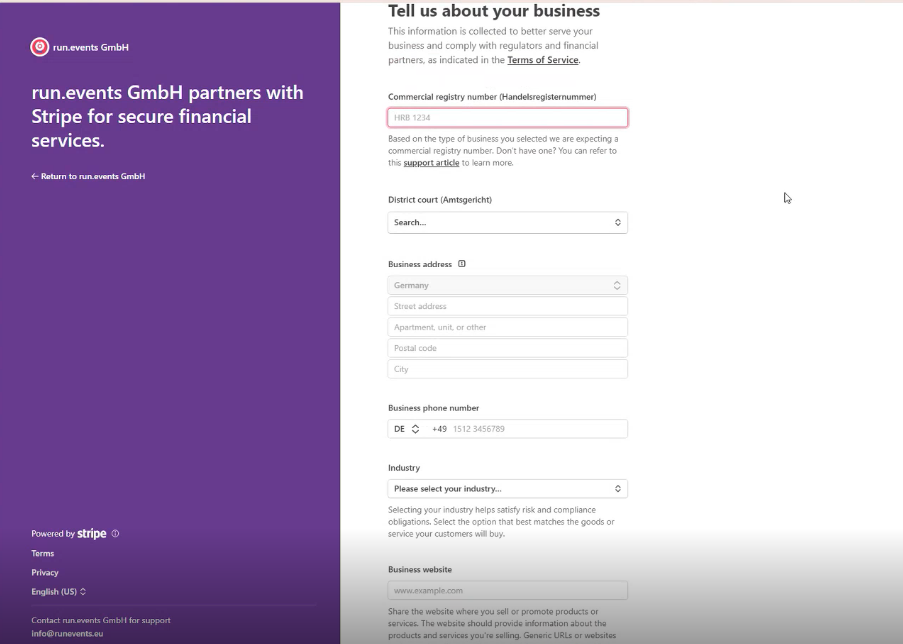
🏢 Step 2: Prepare Company Information
Before continuing, make sure you have the following details ready:
- 🆔 Company Registration Number
- 🏛️Company’s Authorized Representatives
- 📍 Registered Business Address
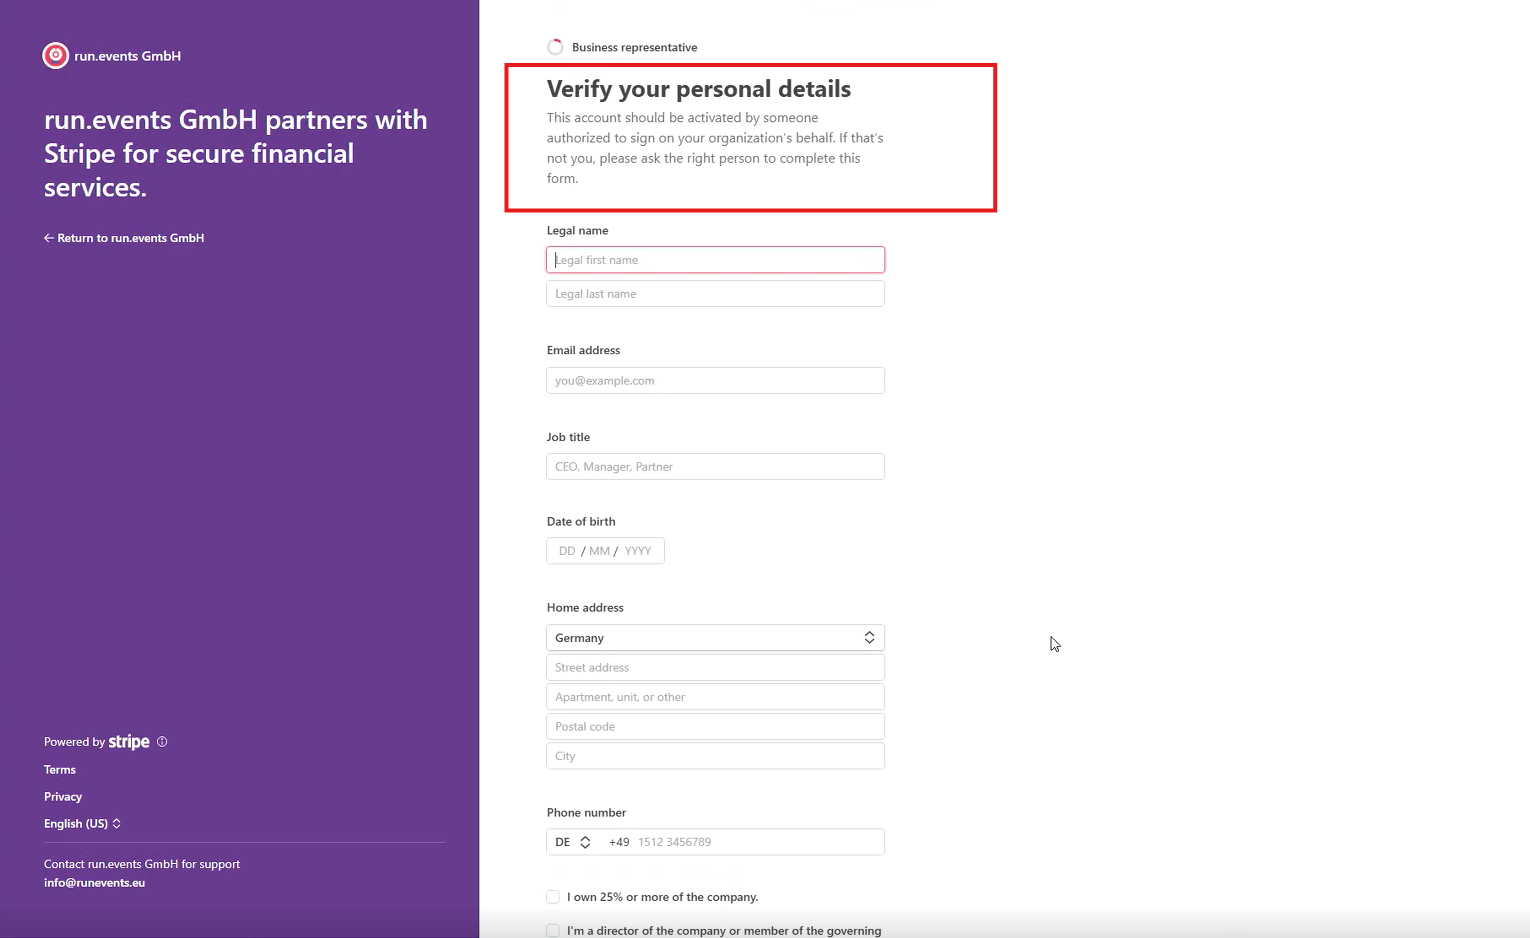
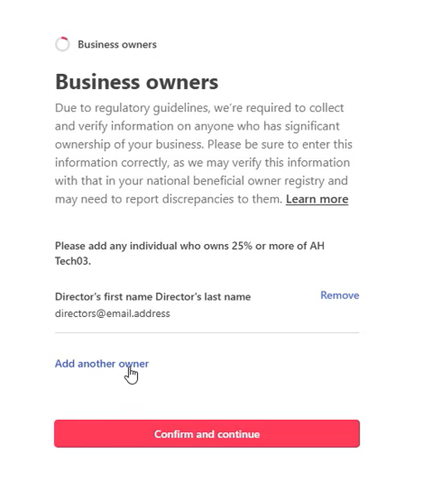
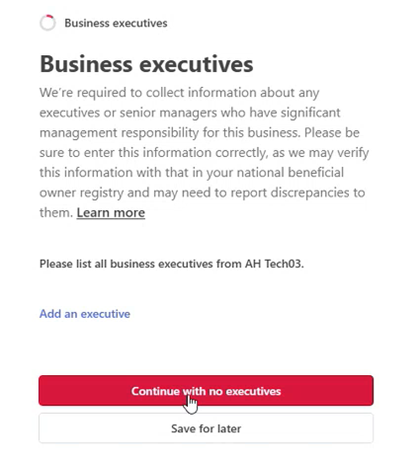
👥 Step 3: Add Authorized Representatives
Stripe requires personal information for individuals involved in your organization. You’ll need to provide:
- ✍ Details of someone authorized to sign on behalf of your company
- 💼 Information for any person who owns 25% or more of the business
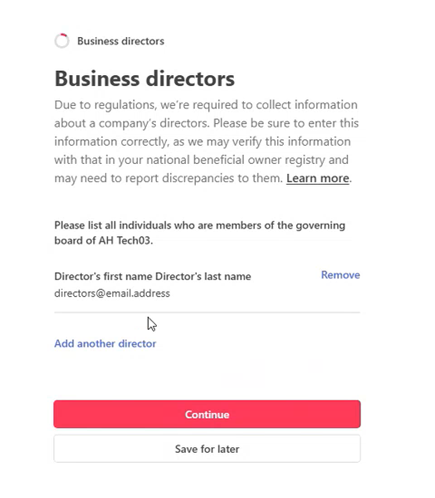
- 🧾 Details of the company's directors
Please note that after this submission, you will be asked by our Support team to send identity conformation documents for responsible individuals of the company, like picture of ID or electricity bill to confirm the address. You will be able to use stripe in the process of this verification.

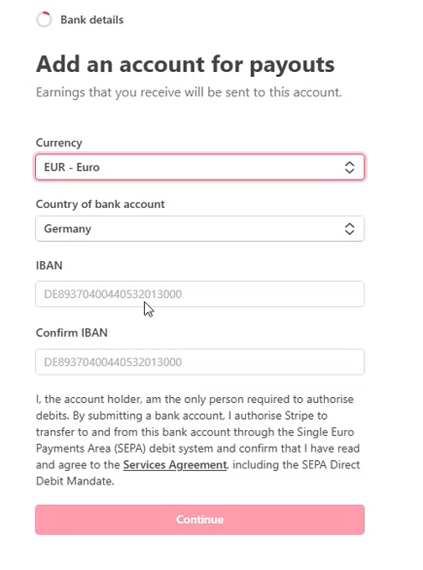
💳 Step 4: Add Bank Account Details
Provide your company’s bank account information where Stripe will send your payouts.
✅ Step 5: Verify Your Account
Once your application is submitted, your Stripe Connect account will be marked as “Enabled”, meaning you can start using it immediately.
However, within a few days you’ll need to do two more steps:
- 🪪 Submit ID documents (type of the document depends of allowed document types for your country, ususally it is a picture of both sides of ID card or page from the Passport) for directors and major shareholders
- 📄 Provide a utility bill, bank statement or ID card (if not used in the first step) to verify your home address (must be the same as on the ID document from the first step)
📬 You will receive an email from run.events Support with secure links to upload the required documents.
Tips & Tricks for verification documents
- Document copies and scans must be in PDF format and taken directly from the original document; they can’t be processed, converted, or embedded in other files
- A picture of a physical document must be the original, unprocessed picture in JPEG or PNG format
- Screenshots aren’t acceptable
- When the back side of a document contains required information, and you submit it using the API, include an image of the back side using the document back parameter
- Photos and scans of the Photo IDs must be in colour
- Photos of paper documents must be in colour, but scans of paper documents (not Photo IDs) may be black and white
- Images must not be low-quality
- Identity and legal entity documents must not be expired
- Documents must be readable and in a valid upload file format
- Documents must not be cropped or missing pages with crucial information, and all borders must be visible
- If the country of residence differs from the country of the account, a passport is required for identity verification
Reference: https://docs.stripe.com/acceptable-verification-documents
💡 Need Help?
If you run into any issues, don’t hesitate to contact our support team. We're here to help!