Designing Event Badges (For Organizers)
The run.events Badge Designer provides a comprehensive visual editor for creating professional event badges. Whether starting from scratch or using templates, the designer offers complete control over badge appearance while ensuring consistency with your event branding.
Go to: Badges and Check-In → Badge Designer

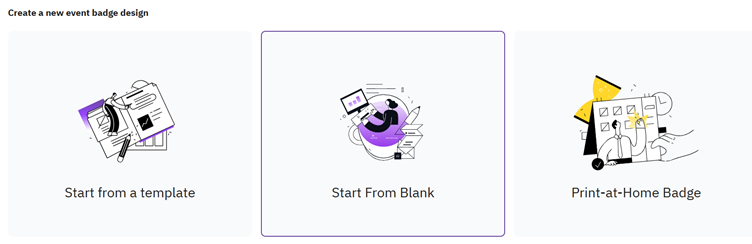
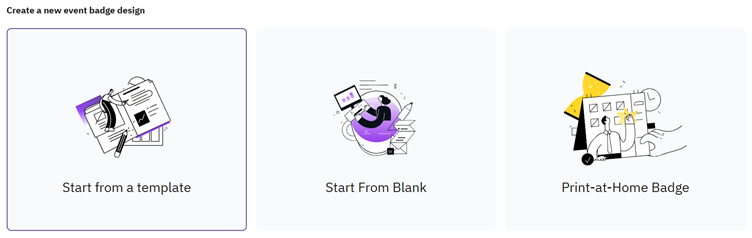
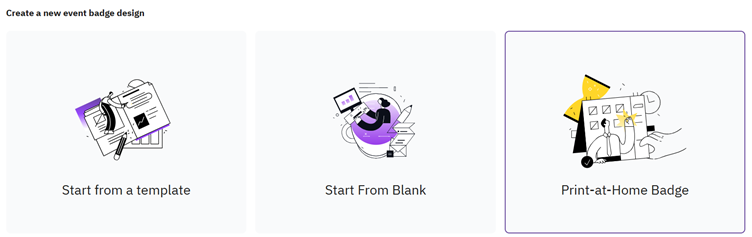
You have three options when beginning badge design:
Option 1: Start from Blank
When creating a badge from scratch, you can:
- Select predefined dimensions: Choose from standard badge sizes commonly used in the industry
- Set custom dimensions: Define precise width and height measurements for specialized badge requirements
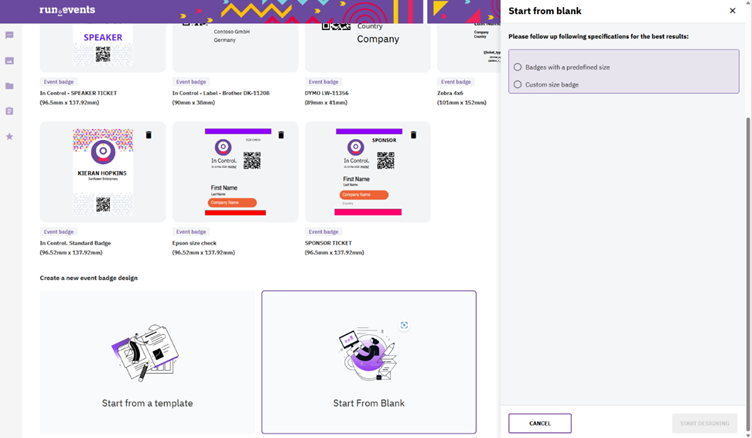
Option 2: Use an Existing Template
Templates provide pre-configured designs that can be customized to match your event's specific needs. This approach accelerates the design process while maintaining professional quality.
Option 3: Print at home Badge
This option will be explained in a separate article in detail.
Badge Designer Interface
The badge designer screen is divided into three functional sections:
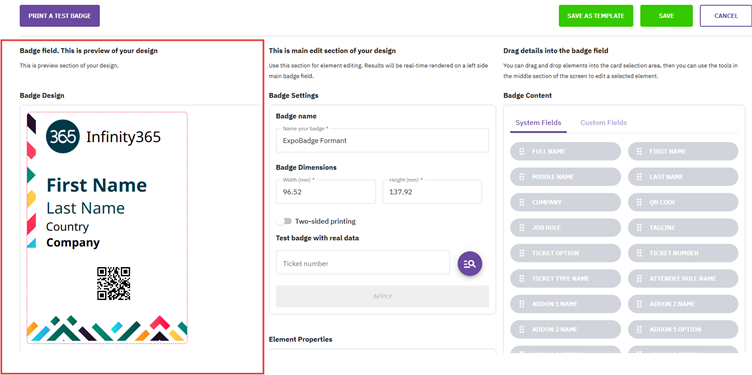
1. Left Section: Badge Preview
This is the Badge Field displaying a real-time preview of your design. All modifications made in the Main Editing Section are immediately rendered here, allowing you to see exactly how your badge will appear when printed.
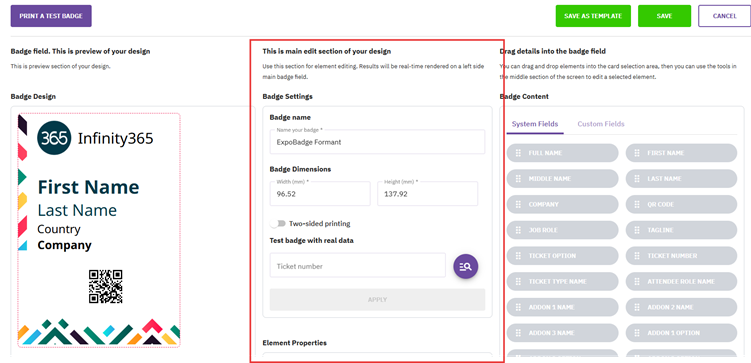
2. Middle Section: Main Editing Section
This area provides comprehensive tools for canvas and element editing, including:
- Canvas properties (dimensions, background color, orientation)
- Element positioning (alignment, spacing, layering)
- Text formatting (font, size, color, style)
- Image properties (sizing, positioning, transparency)
Any changes made here are rendered in real-time in the Badge Preview.
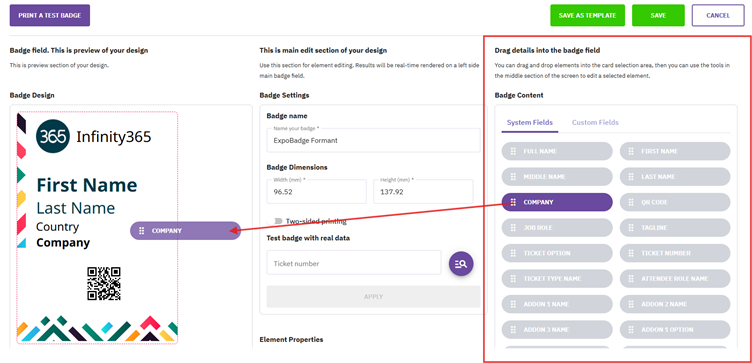
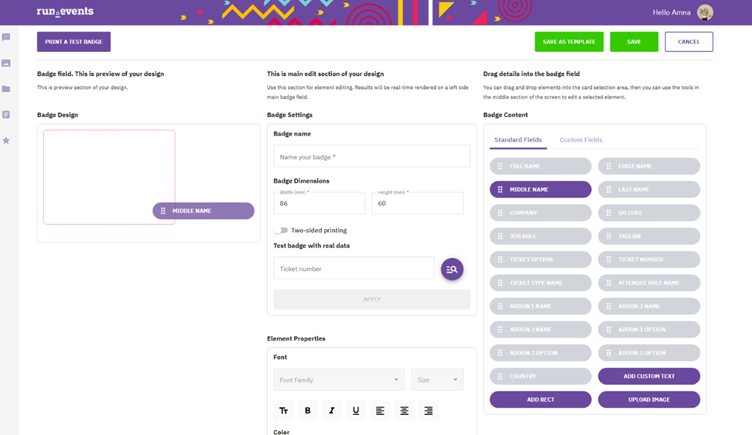
3. Right Section: Elements Panel
The Elements Panel contains all available components that can be added to your badge:
- Text elements: Add custom text fields with full formatting control
- Images: Upload logos, graphics, and visual elements (SVG format supported)
- QR codes: Insert scannable codes for check-in and tracking
- Dynamic data fields: Connect to attendee information (name, company, title, etc.)
Usage: Drag and drop elements from this panel onto the Badge Field. Once added, use the Main Editing Section tools to customize each element's properties and positioning.
Working with Images
The badge designer supports image uploads in SVG format, which is recommended for:
- Company logos
- Event branding
- Sponsor logos
- Decorative elements
Tip: SVG format ensures your images remain sharp and clear at any size, maintaining professional quality across all print resolutions.
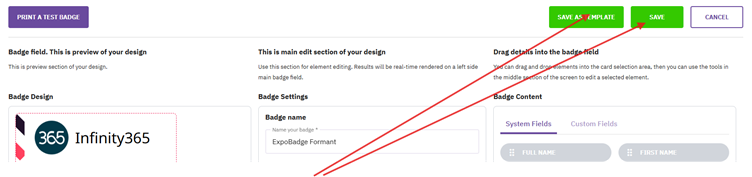
Saving Your Badge Design
Once you are satisfied with your badge design:
- Click 'Save': Saves the design and makes it available for use
- Click 'Save as Template': Saves the design as a reusable template for future badges or events
Best Practice: Always save successful designs as templates. This accelerates future badge creation and ensures visual consistency across multiple events or badge types.
Test the Badge Design
Before activating the badge for attendee use, test it using real data:
- Navigate to the 'Tickets' tab
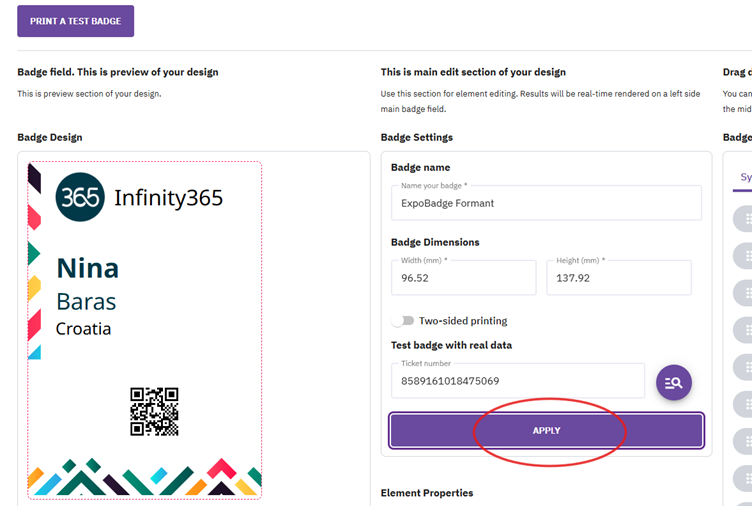
- Select a ticket number from one of your attendees
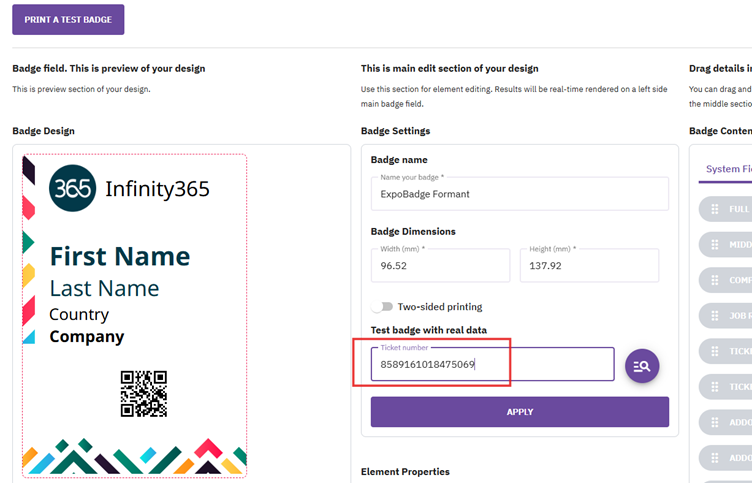
- Click 'Apply' to populate the badge with real attendee data
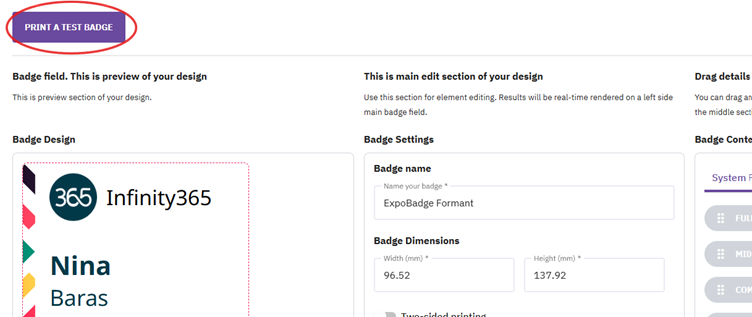
- Click 'Test Badge' button
Design Tips for Professional Badges
- Readability: Ensure text is large enough to read from a distance (minimum 18pt for names)
- Contrast: Use high-contrast between text and background colors for easy scanning
- White space: Leave adequate margins and spacing between elements
- QR code placement: Position QR codes in easily scannable locations with sufficient surrounding space
- Branding: Include event logo and sponsor logos prominently but without overcrowding
- Double-sided design: Consider designing both front and back of badge for maximum information display
Next steps