Self Service Session Check-In
The Self Service Session Check-In feature allows organizers to track attendee participation in session rooms without requiring staff at the entrance. Attendees register their presence by scanning a QR code upon entering the session room. Organizers can decide where to place the QR code, such as at the entrance, inside the room, or displayed on presentation slides. This approach helps avoid queues in front of session rooms and eliminates the need to recruit hosts or hostesses.
If you prefer staffed check-in instead, you can follow the steps here: How to configure and use Host Session Checkin with run.events? | Badges and Check-In | run.events
You can easily configure Self Service Session Check-In by doing the following:
Session Scan Requirements
To enable session scanning, both a room and a session must be configured. When creating a session entry in the agenda, it must be a content block—non-content blocks are not supported for scanning.
Configuring and Managing Venues and Rooms | Content and Speakers | run.events
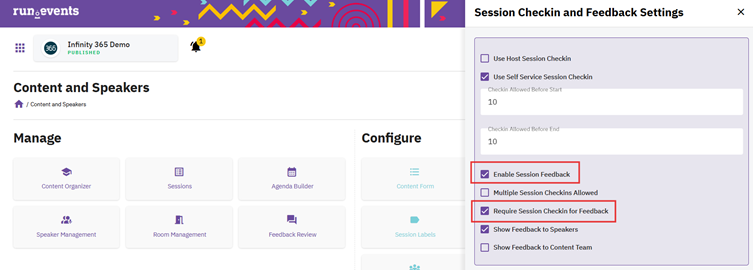
Configure Self Service Session Check-in Settings
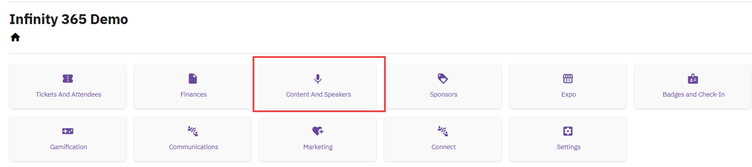
Go to: Content and Speakers
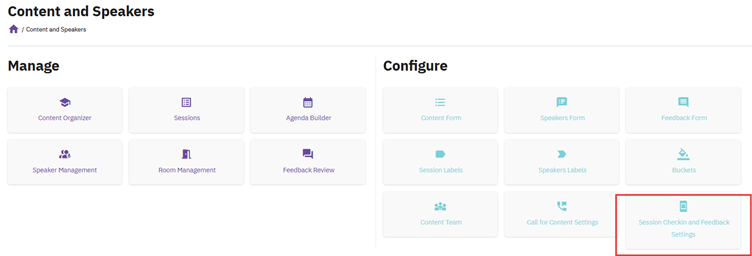
Open “Session Check-in Settings”
and activate the checkbox “Self Service Session Check-In”:
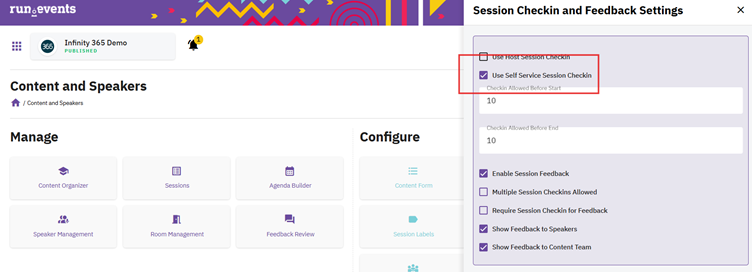
Session Check‑In and Feedback Settings
These parameters should be adjusted to reflect the planned on‑site process.
Organizers define when attendees can check in — starting before the session and ending during it.
Furthermore, organizers should decide whether access to the session survey will be limited to attendees who have successfully checked in.
Downloading Session Room QR Codes
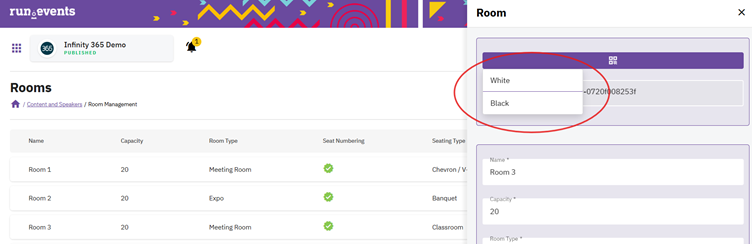
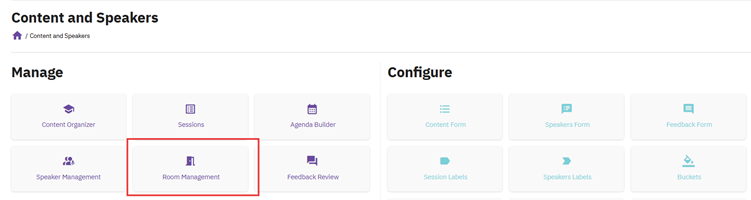
Go to: Content and Speakers -> Room Management
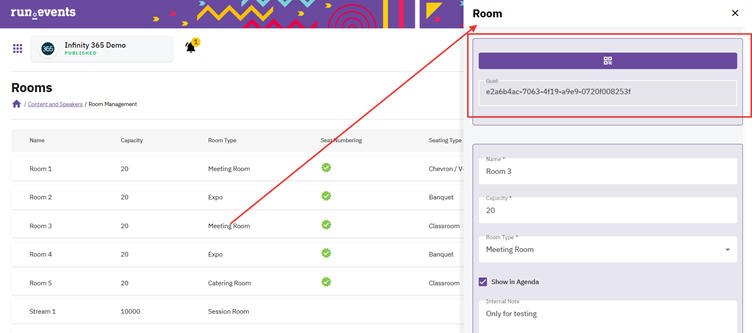
Select a session room – Choose the session room of interest and click on it.
Open the slide window – A slide window will appear with a QR code icon.
Choose QR code format – Click the icon and select the desired format (black or white).
Download the QR code – The download will start automatically.
Save with session name – Rename the file using the session room name to easily identify which QR code belongs to which session.